Sport Court Lighting in Ontario: Choosing LED Systems for Night Play
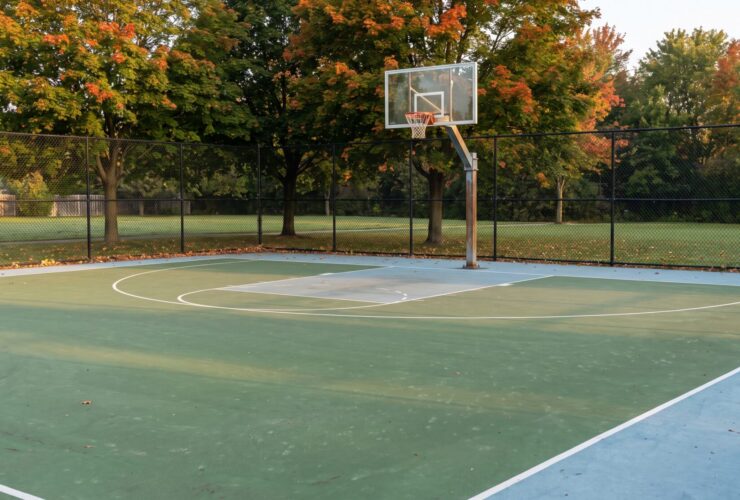
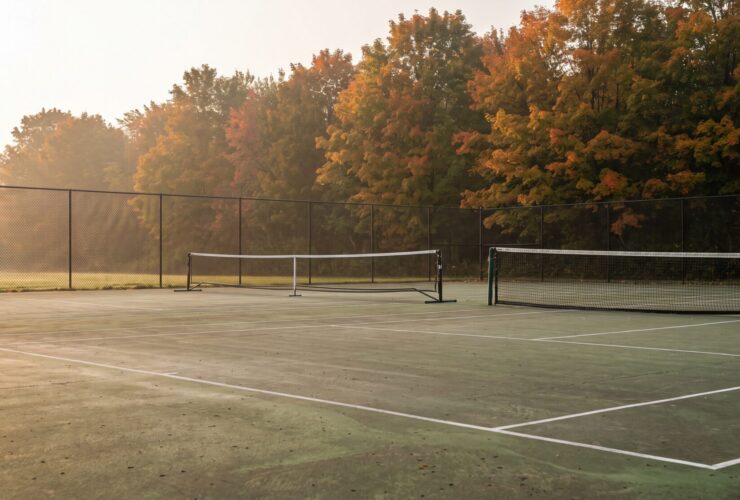
The question comes up on almost every project once a court is built or resurfaced: can we play after the kids go to bed, or after work in October when it’s dark by six? For a lot of Ontario homeowners and facility managers, the honest answer without lighting is no. A court that only works in daylight hours is a court that sits empty for a big chunk of the year, especially through the shoulder seasons when the days get short but the weather is still good enough to play.
Sport court lighting is one of the least discussed but most valuable additions to a tennis, pickleball, or basketball court, whether it’s going in alongside a new build or being retrofitted onto an existing court years later. This guide covers how much light a court actually needs, the fixture and layout choices that determine whether a lighting system works well or badly, and the Ontario-specific factors, cold-weather performance, light trespass, HOA and municipal rules, that don’t show up in a generic lighting guide written for a warmer climate or a different country’s regulations.
Why Court Lighting Is Worth Planning Properly
A poorly lit court is often worse than no lighting at all. Uneven brightness, harsh glare, and dark corners make it harder to track a ball, not easier, and they turn what should be a simple evening-use upgrade into a source of ongoing complaints from players and neighbours alike. Getting lighting right the first time, rather than bolting on whatever fixtures were cheapest at a hardware store, is what separates a court that genuinely extends into three-season or year-round evening use from one where the lights get flipped on a few times and then mostly ignored.
The payoff for doing it properly is real. A well-lit court adds usable hours on most days it’s lit, well beyond a handful of extra weekends. For a family court, that means weeknight play after dinner instead of only weekends. For a club or multi-sport facility, it means more bookable hours on the same footprint without adding a single square foot of court.
LED Versus Legacy Lighting: Why LED Has Become the Default
Almost every sport court lighting project built or retrofitted today uses LED fixtures rather than the metal halide or high-pressure sodium systems that dominated outdoor lighting for decades. The shift isn’t a trend, it’s a genuine performance and cost improvement across nearly every metric that matters for a sport court.
Metal halide fixtures, the older standard for stadium and court lighting, need several minutes to warm up to full brightness, can’t be dimmed effectively, and lose a meaningful share of their output over their working life as the bulb ages. LED fixtures reach full brightness instantly, hold their output far more consistently over their lifespan, and use noticeably less electricity to produce the same amount of usable light. Natural Resources Canada notes that ENERGY STAR-certified LED lighting is up to 90 percent more efficient than incandescent lighting and lasts at least fifteen times longer, and the efficiency gap over metal halide, while smaller, is still substantial enough to change the long-run economics of running a court’s lights several evenings a week.
| Factor | LED | Metal Halide / HID |
|---|---|---|
| Time to full brightness | Instant | 3 to 12 minutes warm-up |
| Typical rated lifespan | 50,000 to 100,000 hours | Around 12,000 hours |
| Dimming capability | Yes, standard on most fixtures | Limited or none |
| Cold-weather performance | Stable, output can hold or slightly improve | Warm-up time increases in cold temperatures |
| Light output consistency over life | Gradual, slow decline | Noticeable drop-off as bulb ages |
| Energy use for equivalent brightness | Lower | Higher |
Cold-weather performance is worth calling out specifically for Ontario. Unlike some lighting technologies that struggle in low temperatures, LED fixtures generally perform reliably through Canadian winters, with output that stays stable or, in some conditions, even improves slightly in cold air. That matters for a court that gets used into November and again starting in March, when metal halide’s longer cold-weather warm-up time becomes a real practical annoyance rather than a minor inconvenience.
How Much Light a Court Actually Needs
The single biggest planning question isn’t which fixture brand to buy, it’s how much light the court’s actual use level calls for. Lighting designed for a backyard family court and lighting designed for a club running competitive league play at night are genuinely different projects, even on courts that are physically identical.
Lighting professionals generally group sport court lighting into tiers tied to how seriously and how visibly the court is used, from casual recreational play up through tournament and broadcast-level competition. Recreational and backyard courts need meaningfully less light than a club running evening league matches, and a facility hosting sanctioned tournament play or filming for broadcast needs more again. The table below reflects the foot-candle ranges commonly used across the sport lighting industry as design benchmarks for outdoor courts; treat them as a starting point for a conversation with a lighting designer rather than a fixed code requirement, since Ontario does not mandate a specific illuminance level for a private or club sport court the way it does for, say, a parking structure.
| Use Level | Typical Range (foot-candles) | Typical Context |
|---|---|---|
| Recreational / backyard | 20 to 30 fc | Private courts, casual family or friends play |
| Club / high school | 30 to 50 fc | Private clubs, school programs, regular league play |
| Competitive / college | 50 to 75 fc | Sanctioned competition, spectator-facing matches |
| Tournament / broadcast | 75 to 125+ fc | Televised or high-level tournament play |
Two things matter more than the raw number in that table. The first is uniformity, how evenly the light is spread across the surface, since a court with hot spots and dark corners is harder to play on than a slightly dimmer court with even coverage. The second is that USA Pickleball’s own outdoor court construction guidance puts this plainly: light should be uniformly spread throughout the area of play, it should adequately render color, and glare should be minimized as much as possible by avoiding reflective surfaces. That advice applies just as well to tennis and basketball lighting as it does to pickleball, and it’s a better planning principle for most residential and club projects than chasing the highest possible foot-candle number.
Fixture Types and Beam Angles
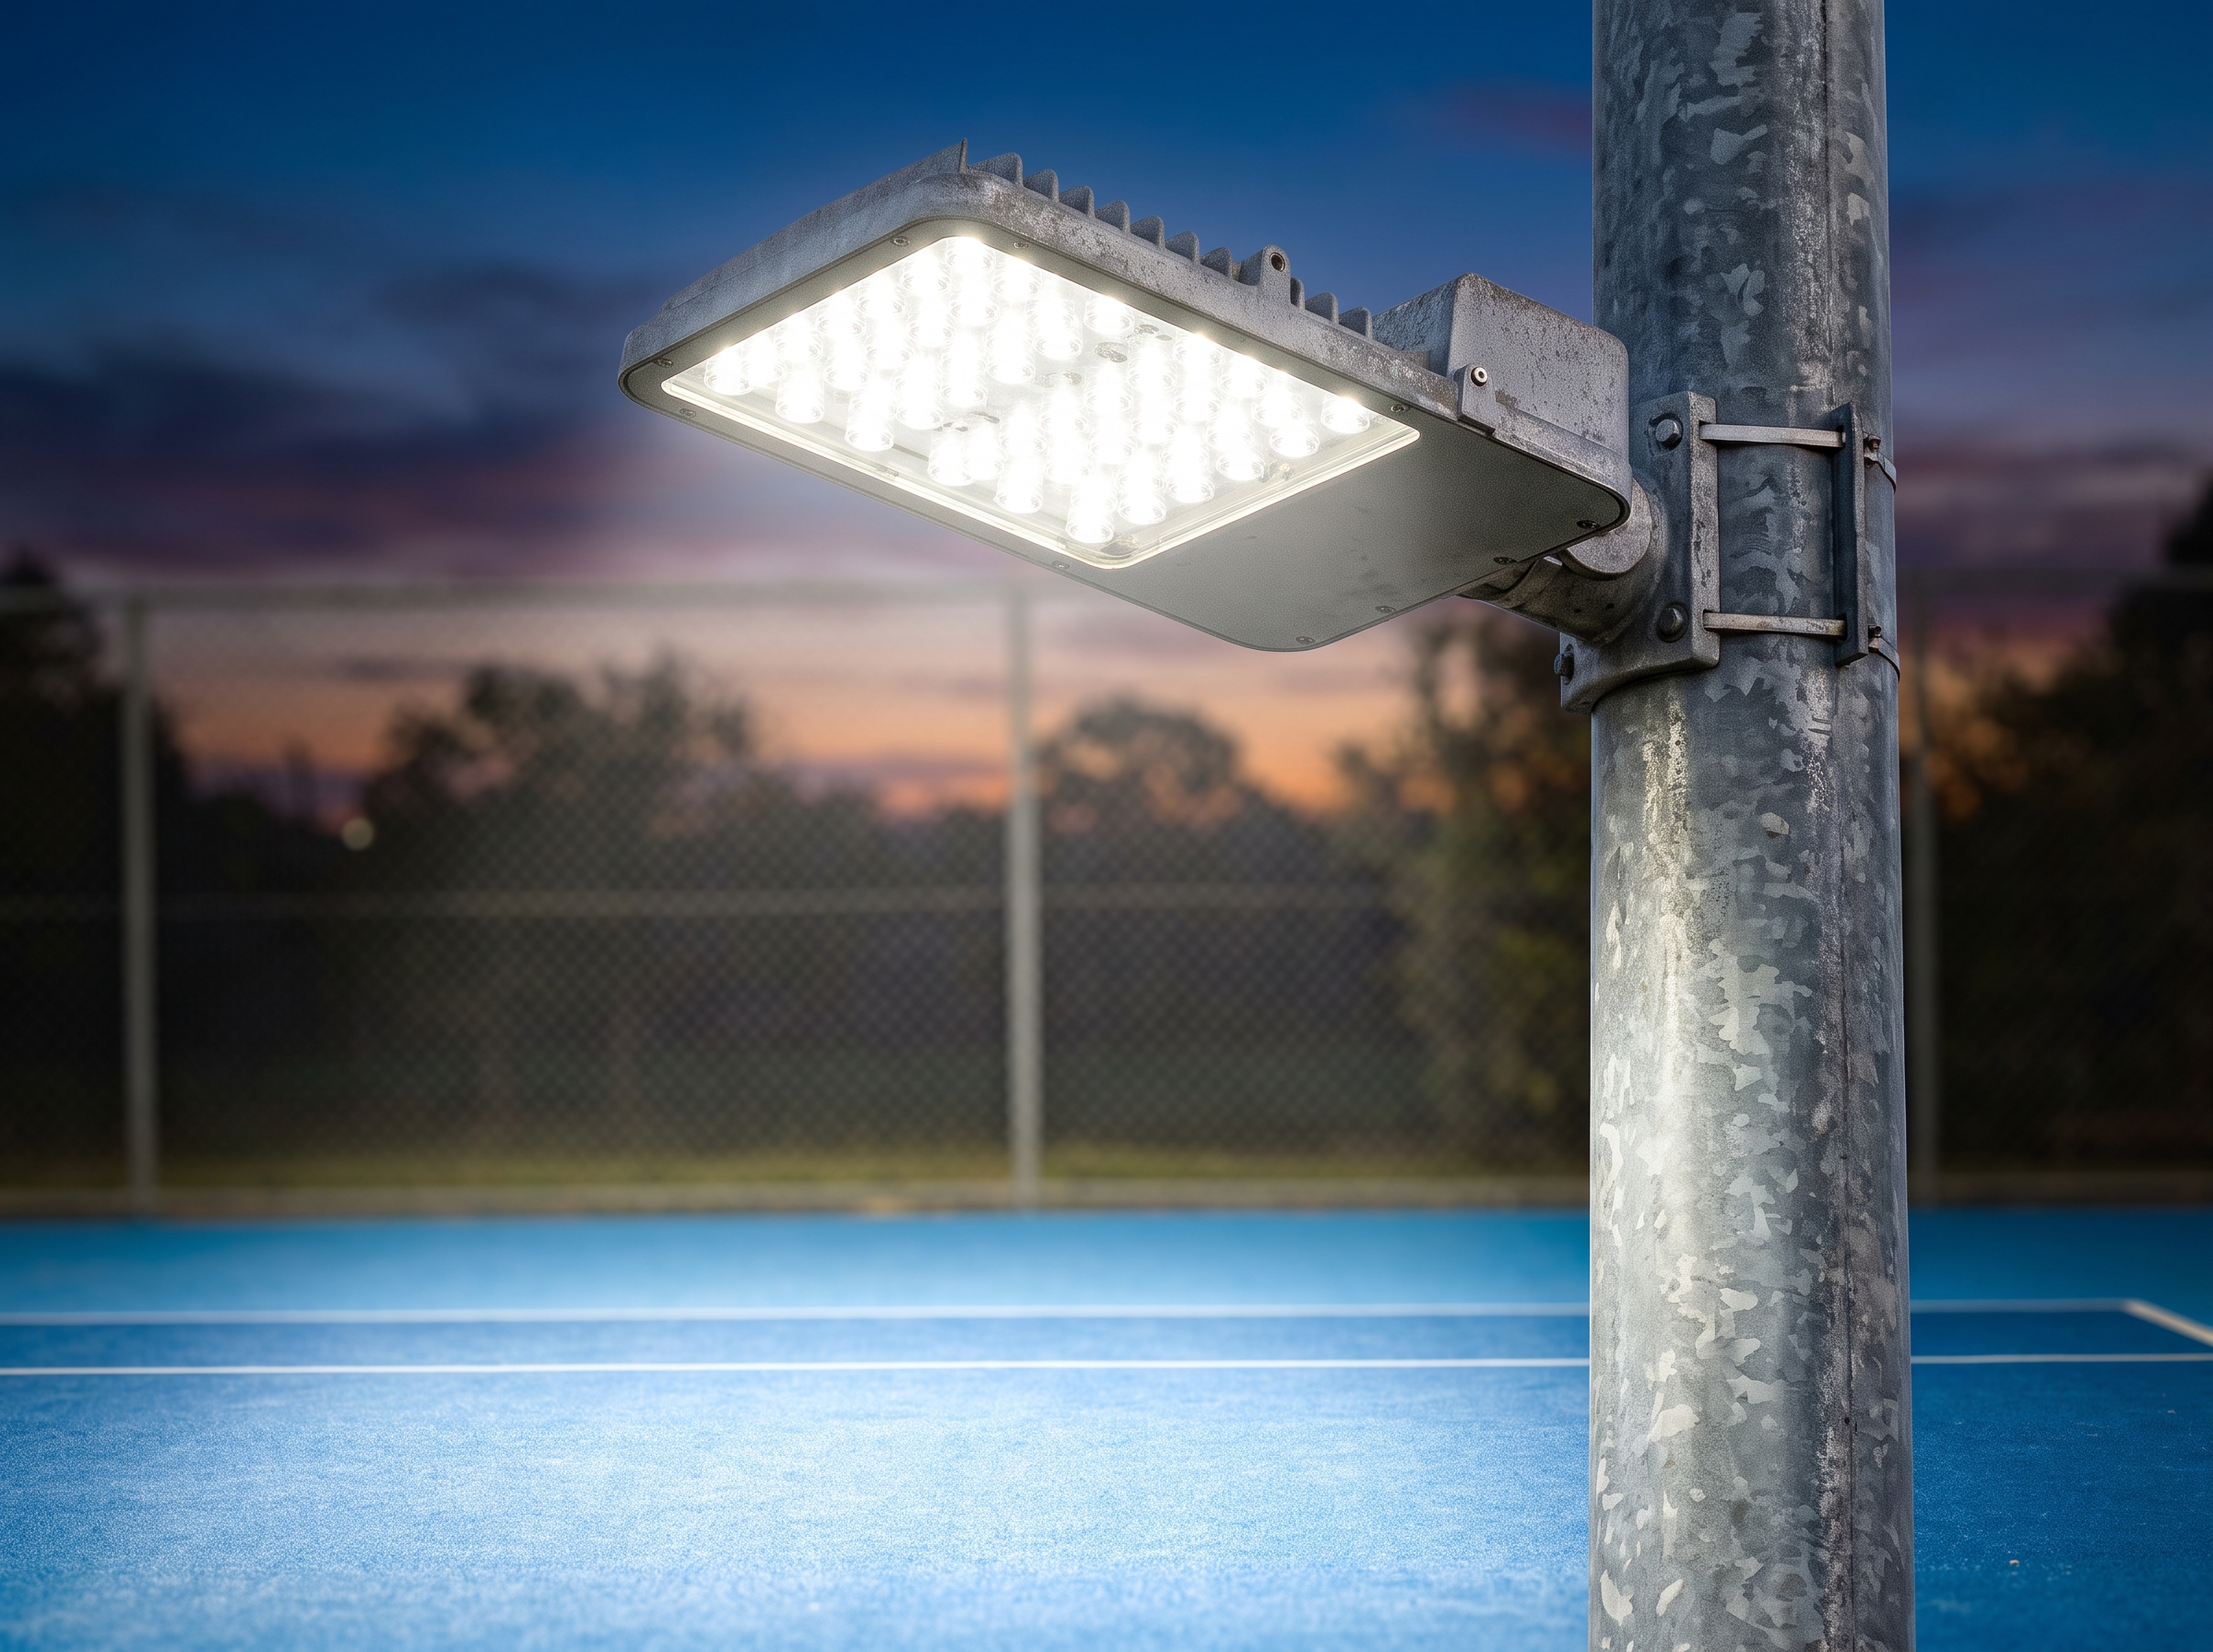
Two broad fixture families cover the vast majority of outdoor sport court lighting installs: LED floodlights and modular or reflector-style area lights. Floodlights throw a broad, relatively uniform beam and are the most common choice for lighting an entire court from a small number of pole-mounted fixtures. Modular and reflector fixtures allow more precise control over beam angle and are useful where light needs to be aimed carefully to avoid spilling onto a neighbouring property or a house.
Beam angle is one of the more overlooked specifications on a fixture spec sheet, and it has a direct effect on both coverage and glare. A narrow beam angle concentrates light into a smaller area and works well on taller poles where the fixture is aiming down at a steep angle; a wide beam angle spreads light over more area from the same mounting height but can produce more glare at eye level if it isn’t aimed carefully. Matching beam angle to pole height and court size, rather than defaulting to whatever beam angle a fixture ships with, is one of the details that separates a well-designed lighting layout from a mediocre one.
Pole Height, Placement, and Setbacks
Pole height and placement work together with fixture selection to determine both coverage and glare. Taller poles, generally in the 20 to 40 foot range for outdoor tennis and multi-sport courts, allow fixtures to be aimed down at a steeper angle, which improves uniformity and reduces glare at player eye level compared to a shorter pole throwing light more horizontally across the court. Shorter poles, in the 12 to 20 foot range, are more common on smaller backyard installations where a lower budget and a smaller footprint make a full four-pole, tall-mast layout impractical.
Placement matters as much as height. USA Pickleball’s construction guidance recommends a minimum distance of 5 feet from the sideline to light poles, with poles ideally centered on or immediately outside the court’s perimeter fencing where one is present. The same general principle, keeping poles outside the playing surface and any run-off area while still close enough to light the court evenly, applies to tennis and basketball layouts as well. Poles set too close to the sideline become a collision hazard for players chasing a ball near the boundary; poles set too far away lose the beam control advantage of a properly aimed fixture.
Common Layout Patterns
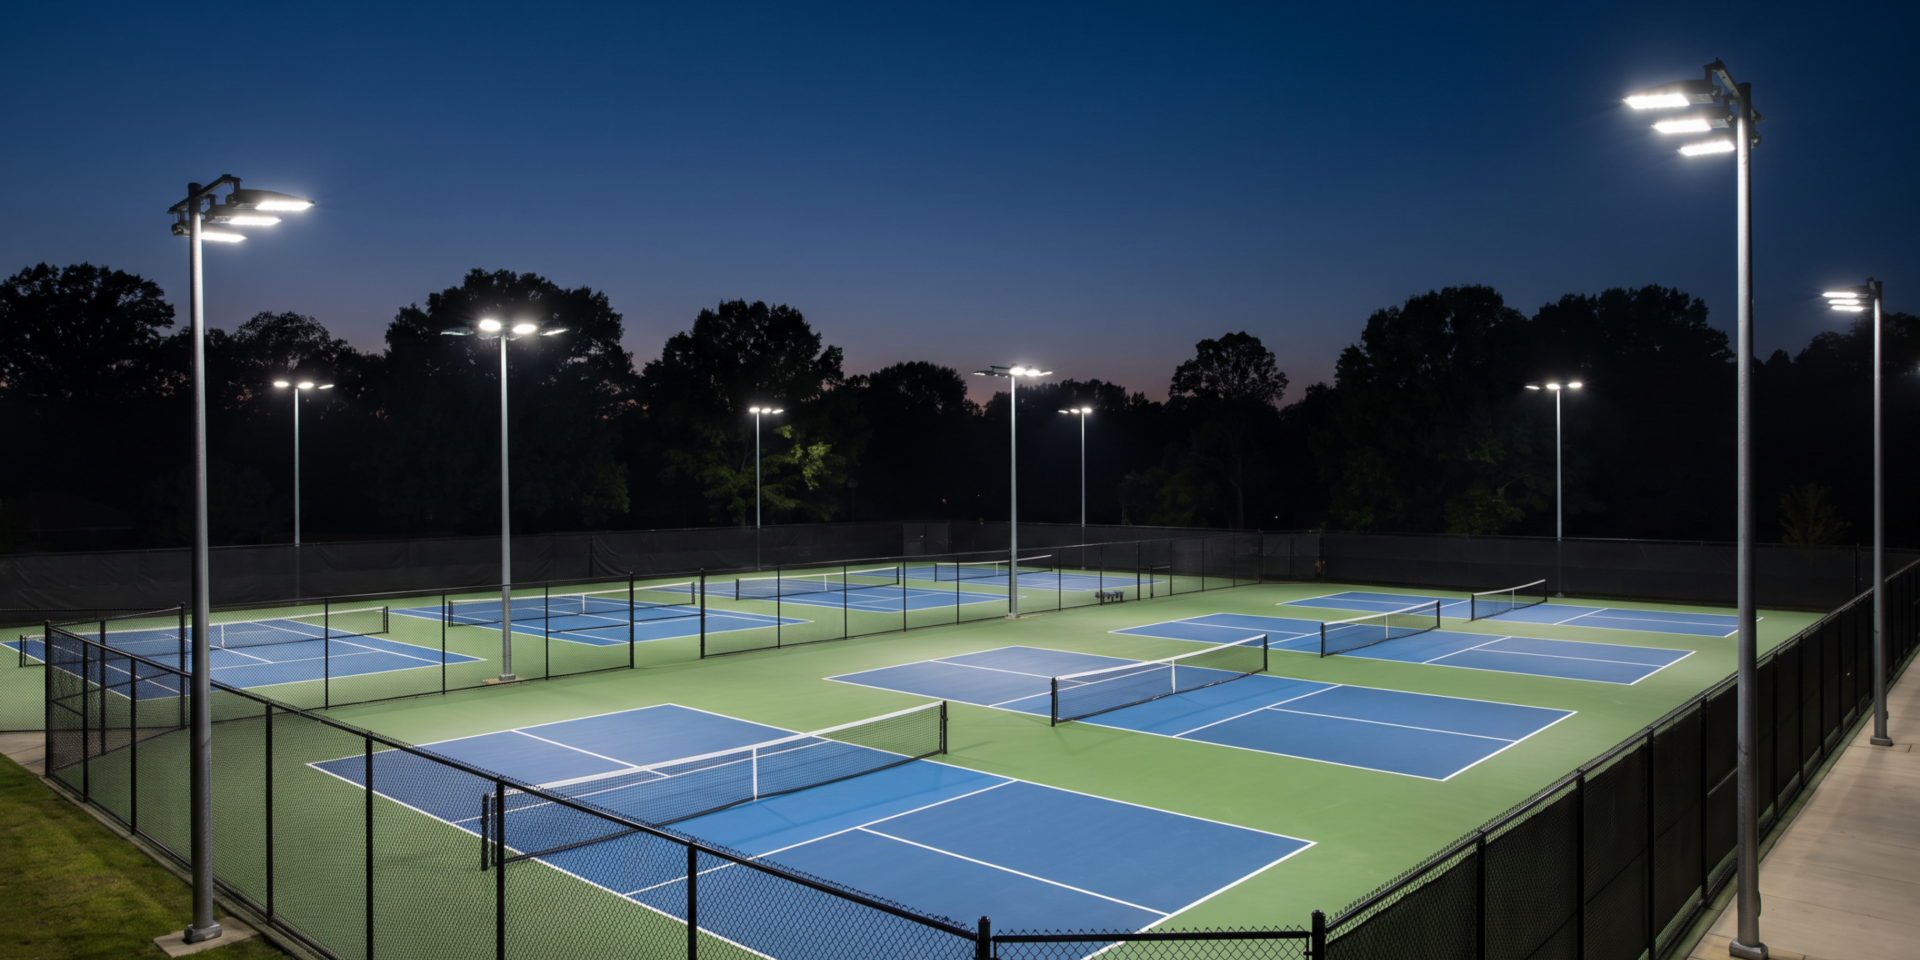
Most outdoor tennis and multi-sport courts use one of a small number of standard pole arrangements. A two-pole layout, one fixture on each side of the net, is the simplest and least expensive but produces the least uniform coverage. A four-corner layout, with a pole at or near each corner of the court, is the most common configuration for club-level and better-lit residential courts, since it allows each fixture to cover a smaller area and reduces both dark corners and glare from any single direction. Larger facilities lighting multiple adjacent courts sometimes use six or eight poles shared between two courts, which can be more cost-efficient per court than lighting each one independently.
| Layout | Typical Pole Count | Best Suited For |
|---|---|---|
| Two-sided | 2 poles | Budget-focused backyard courts, casual recreational use |
| Four-corner | 4 poles | Standard residential and club courts, the most common configuration |
| Shared multi-court | 6 to 8 poles | Facilities with two or more adjacent courts, multi-sport complexes |
Color Temperature, CRI, and Glare Control
Two specifications on a fixture spec sheet matter more for playability than most buyers realize: color temperature and color rendering index. Color temperature, measured in Kelvin, describes how warm or cool the light appears. Most sport lighting applications land somewhere between 4000K and 5700K, a range that Natural Resources Canada notes as closely mimicking natural daylight at the higher end (roughly 5000K to 6500K), which is part of why a neutral daylight-toned fixture, rather than a warm yellowish one, is the standard choice for evening court play.
Color rendering index, or CRI, measures how accurately colors appear under a given light source, on a scale up to 100. A higher CRI makes it meaningfully easier to track a ball’s spin and color against the court surface and makes lines and zone markings read clearly at night rather than washing out into a flat gray. For a court where color contrast between the surface, lines, and zones was already carefully chosen during construction or resurfacing, pairing it with low-CRI lighting undermines that investment after dark.
Glare is the flip side of brightness, and it’s the complaint that comes up most often on lighting projects that weren’t planned carefully. Glare happens when light reaches a player’s or a neighbour’s eyes directly rather than being reflected off the court surface, and it’s controlled primarily through fixture aiming, beam angle selection, and mounting height rather than by simply reducing overall brightness. A well-aimed, properly angled fixture on an appropriately tall pole produces less glare at a given brightness level than a poorly aimed one on a short pole, which is why fixture placement deserves as much attention as fixture wattage.
Ontario Considerations: Light Trespass, Neighbours, and Approvals
Lighting a court well for the people using it is only half the planning problem in most Ontario settings. The other half is making sure that light stays where it’s supposed to and doesn’t become a source of ongoing friction with neighbours or a municipality.
Light Trespass and Spill
Light trespass, light spilling beyond the property or the intended playing area onto a neighbouring yard, window, or street, is one of the most common sources of complaints on residential and community court lighting projects. Well-aimed fixtures with precise beam control and appropriate mounting height are the main defence against this, along with simply avoiding oversized fixtures chosen for a much larger facility than the court actually calls for. Many Ontario municipalities have noise and nuisance bylaws that can extend to outdoor lighting hours or intensity in residential areas, so it’s worth checking local rules alongside the same due diligence covered in CrowAll’s guide to permits for a new sports court before finalizing a lighting plan, particularly for a court close to a property line.
HOA and Community Approval
Courts in a homeowners’ association or shared community setting sometimes have design guidelines that address lighting specifically, operating hours, fixture height limits, or shielding requirements, on top of whatever applies to the court itself. This is the same category of check CrowAll recommends before finalizing a court color scheme in a regulated community, and it’s worth doing before a lighting quote is locked in rather than after poles are already ordered.
Electrical Permits and Trenching
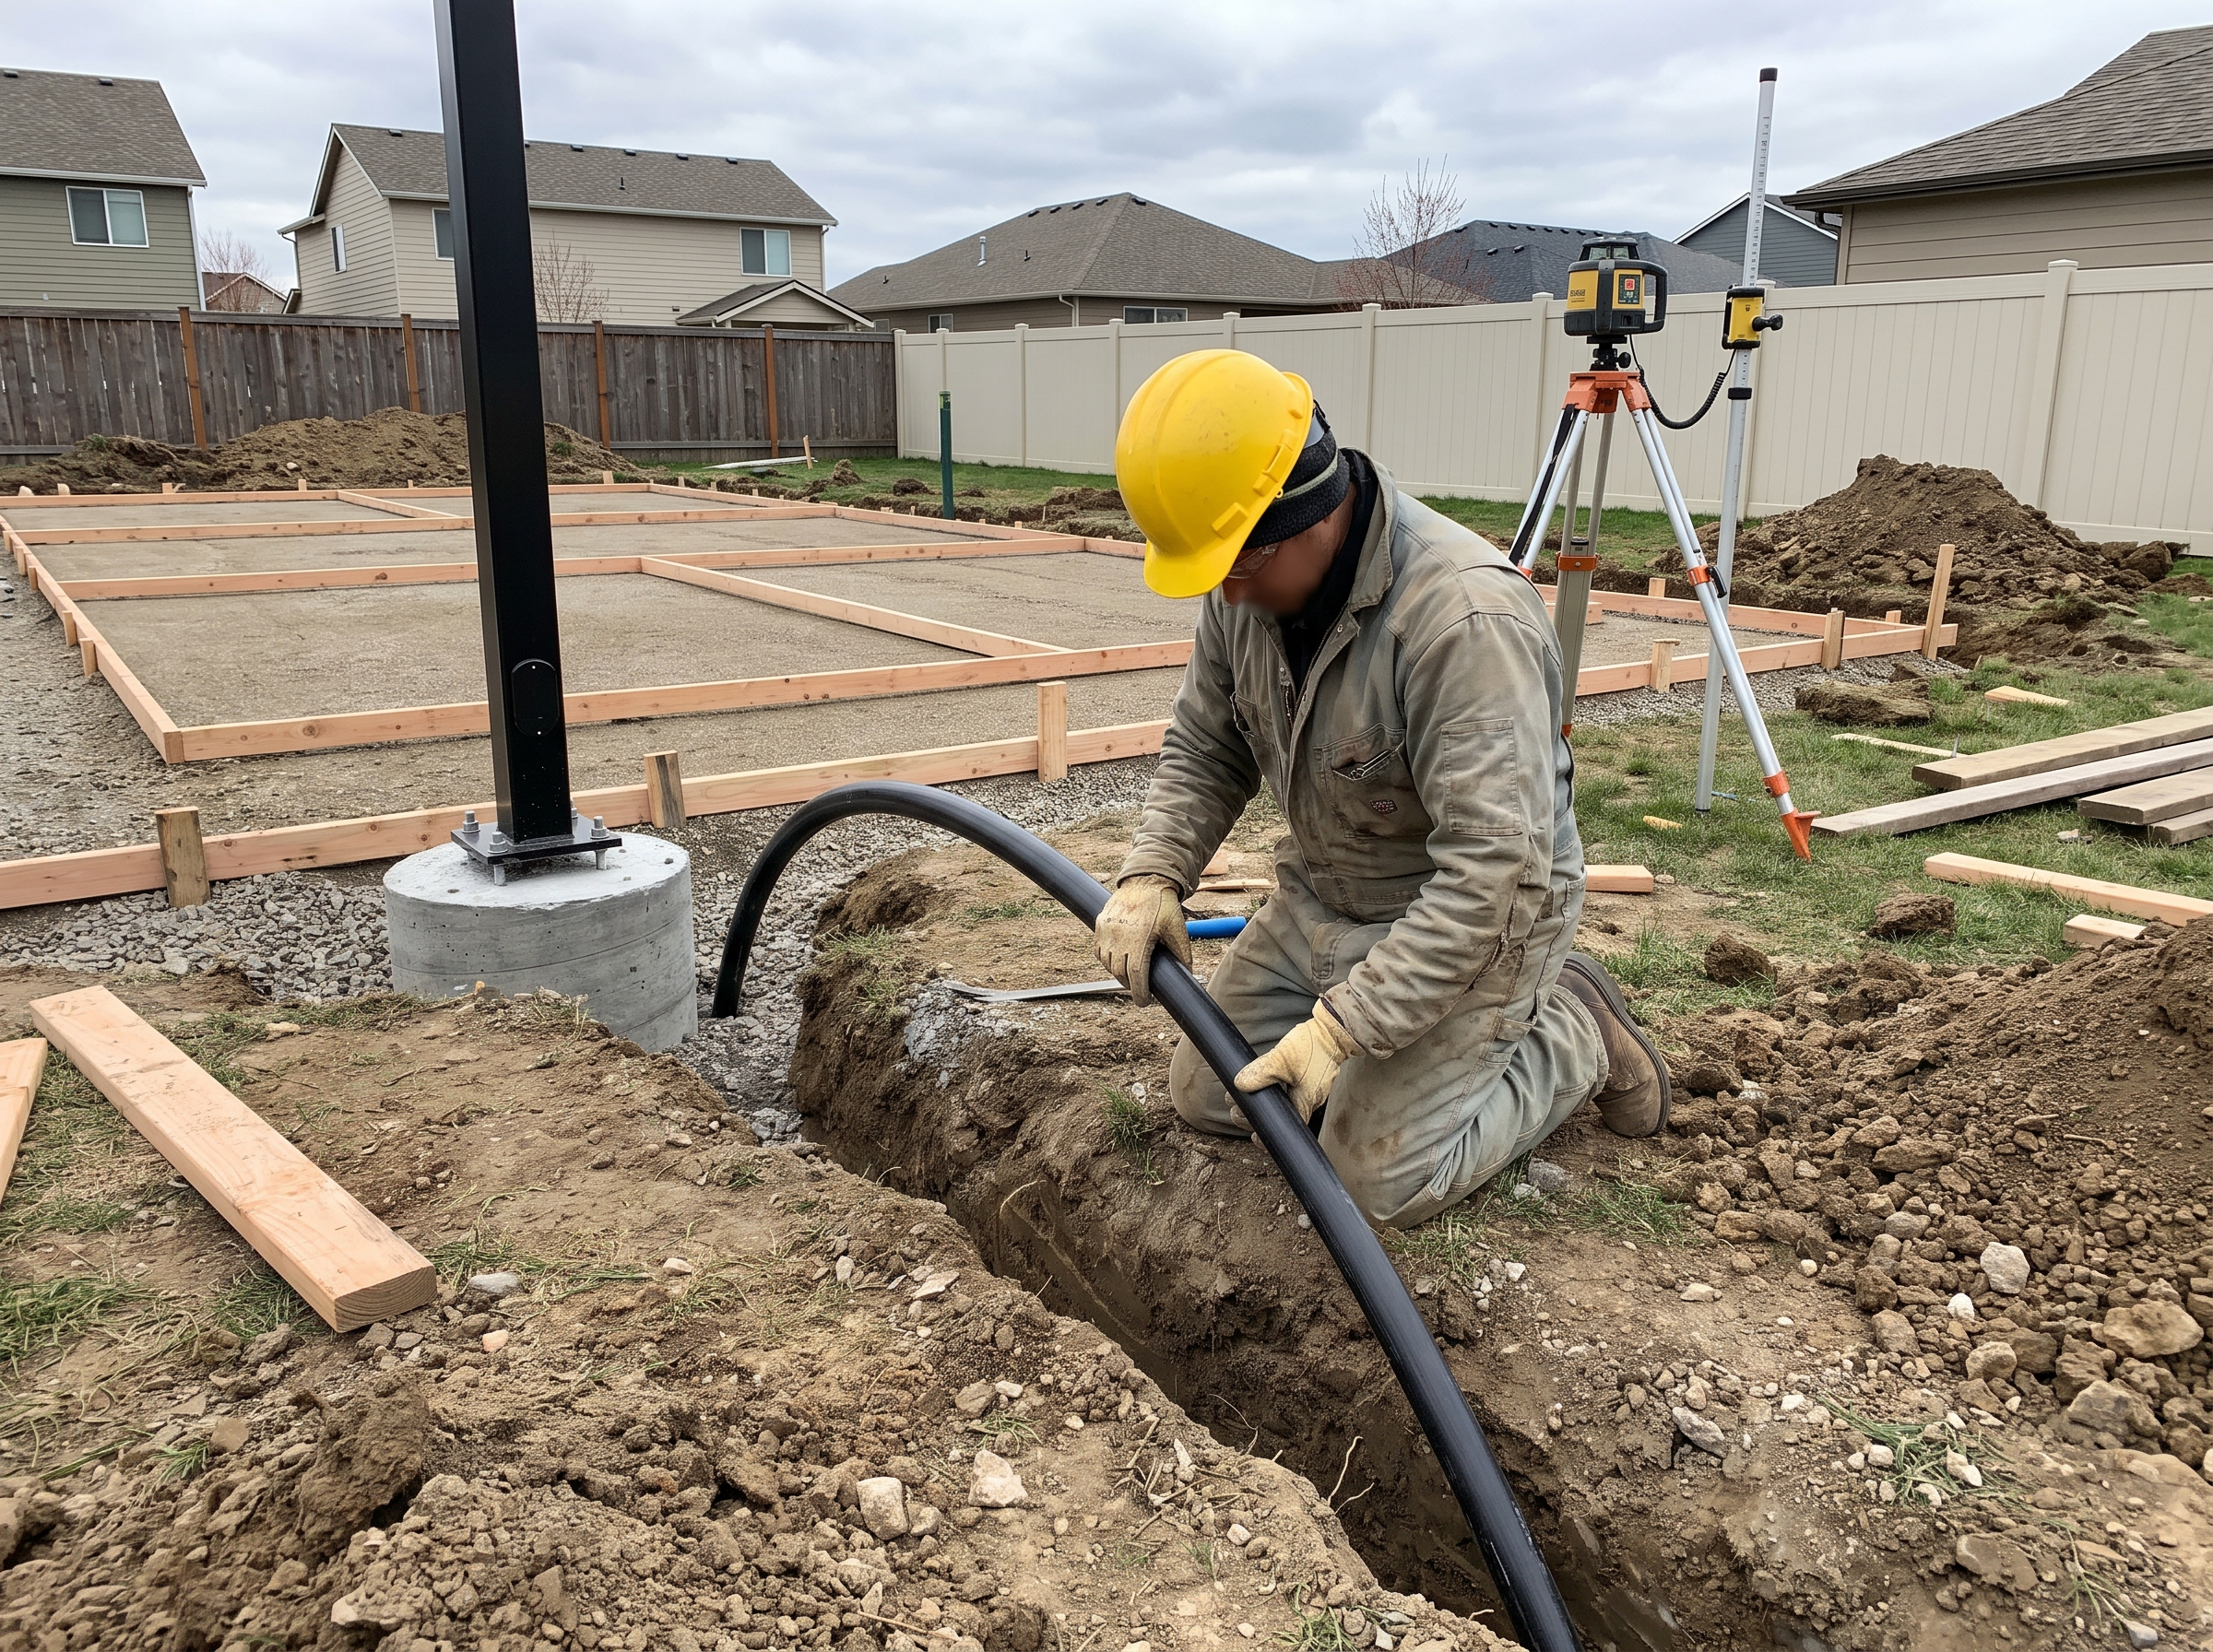
Unlike a court’s surface work, lighting almost always involves an electrical permit, since it requires a dedicated circuit, trenching for underground conduit from the panel to each pole location, and a qualified electrician for the final connections. This is separate from, and in addition to, any building or zoning permit the court structure itself needs; CrowAll’s broader guide on zoning and regulations for residential tennis court installation covers the structural side of that approval process.
Lighting a New Build Versus Retrofitting an Existing Court
Lighting is easiest and least expensive to plan when it’s part of a new court build from the start, since trenching for conduit, pole footings, and electrical rough-in can happen alongside the same laser-guided grading and excavation work the court itself needs, before the surface goes down. Retrofitting lighting onto an existing court is entirely possible and common, but it typically means trenching around or adjacent to a finished surface, which adds cost and requires more careful planning to avoid damaging the court or any existing fencing and drainage work already in place.
For anyone weighing whether to build lighting in now versus adding it later, the honest answer is that later is always possible but rarely cheaper, since a retrofit repeats some of the excavation and disruption a new build would have done once anyway. It’s worth raising during initial project planning even if the budget doesn’t allow for lighting in the first phase, the same way timing a build for the right season is worth planning even when other decisions get made later.
Cost Considerations
Sport court lighting cost is driven mainly by the number of poles and fixtures, pole height, trenching distance from the electrical panel, and whether the project is a new build or a retrofit onto an existing court. A simple two-pole backyard setup on a short run from an existing panel costs meaningfully less than a four-pole, tall-mast layout with a long trenching run and a dedicated new circuit. Fixture quality is a real cost driver too; a properly rated, glare-controlled LED fixture from an established sports lighting manufacturer costs more upfront than a generic floodlight, and typically earns that difference back through lifespan and lower maintenance over years of evening use.
| Factor | Effect on Cost |
|---|---|
| Number of poles and fixtures | More poles and higher-wattage fixtures raise both equipment and installation cost |
| Pole height | Taller poles cost more in materials, footings, and installation labour |
| Trenching distance from panel | Longer conduit runs increase excavation and electrical labour cost |
| New build vs. retrofit | Retrofitting onto a finished court generally costs more than building lighting in during initial construction |
| Fixture quality and glare control | Higher-quality, precisely-aimable fixtures cost more upfront but typically last longer and perform better |
| Controls and dimming features | Smart scheduling, dimming, or app-based controls add cost over a simple on/off switch |
CrowAll’s public project figures don’t break out lighting as a standalone line item, since it’s typically scoped alongside the rest of a build or resurfacing project rather than sold separately. For a sense of overall project costs before lighting-specific numbers come into the conversation, CrowAll’s cost breakdown guide and 2026 tennis court cost guide cover the major drivers, and a free consultation is the most reliable way to get project-specific lighting numbers.
Lighting for Different Sports
Lighting needs shift meaningfully depending on which sport a court is built for, mainly because ball size, speed, and the height players look while tracking it all differ.
Tennis Court Lighting
Tennis players track a relatively small, fast-moving ball across a large court, often at a considerable height on a serve or an overhead. That combination calls for strong vertical illumination in addition to horizontal coverage across the court surface, and it’s part of why taller poles and a four-corner layout tend to outperform a low, two-sided setup for anything beyond casual backyard use. See CrowAll’s guide on tennis court dimensions for the court size that lighting layouts need to cover.
Pickleball Court Lighting
Pickleball’s rapid growth has brought a lot of new night-lighting demand, and it comes with a specific challenge: pickleball courts are frequently installed close to homes, both the owner’s and neighbours’, because of the court’s smaller footprint compared to tennis. That makes light trespass control genuinely more important on a pickleball lighting project than on many tennis installs, and it’s a large part of why USA Pickleball’s own construction guidance addresses pole placement and glare directly. See CrowAll’s guide to pickleball court dimensions for sizing, and the guide to converting a tennis court to pickleball for anyone adding lighting to a converted court.
Basketball Court Lighting
Basketball demands balanced horizontal and vertical illumination as players move quickly in multiple directions and shoot at height. Backyard basketball court installations often use a simpler lighting setup than a full tennis court, since the smaller footprint of a single hoop and half or full court needs fewer fixtures to cover evenly; CrowAll’s guide to choosing a basketball court surface covers the surface side of that same project.
Multi-Sport Courts
A court built to host more than one sport, the subject of CrowAll’s multi-sport court construction guide, generally needs to be lit for whichever sport on the shared footprint has the more demanding lighting requirement, typically tennis if it’s part of the mix, rather than lighting to the lowest common denominator and leaving some uses under-lit.
Maintenance of Sport Court Lighting
LED sport court lighting needs far less ongoing maintenance than the metal halide systems it has largely replaced, but it isn’t entirely maintenance-free. Fixtures and lenses collect dust, pollen, and grime over a season, which can measurably reduce light output if never cleaned. Pole footings and wiring connections benefit from an annual visual check, particularly after a hard winter, to catch loose hardware or conduit damage before it becomes an electrical problem. Photocells and any smart controls or timers should be tested periodically to confirm they’re switching on and off as expected rather than assumed to be working correctly.
| Task | Recommended Frequency |
|---|---|
| Clean fixture lenses and housings | Once or twice per season |
| Visual check of pole footings and hardware | Annually, ideally after winter |
| Test photocells, timers, or smart controls | Seasonally |
| Inspect wiring connections and conduit | Annually or after any major storm |
| Full lighting audit (uniformity, glare, output) | Every few years, or if complaints or dark spots appear |
Accessories That Often Pair With Lighting
Lighting projects are a natural point to reconsider a handful of related accessories at the same time, since some of the same planning conversations, sightlines, glare, and neighbour impact, overlap directly.
Windscreens
Windscreen fabric mounted to court fencing reduces wind interference during play and adds a measure of privacy, and it also has a secondary effect worth knowing about before a lighting project: windscreen material can reflect or block light differently than open chain-link fencing, so it’s worth confirming a lighting design with any planned windscreen already accounted for, rather than adding windscreen after a lighting layout is finalized and finding the coverage has changed. Mesh windscreen, the more common choice for wind and privacy rather than a fully solid screen, has a smaller effect on light distribution than a solid vinyl option.
Fencing and Enclosure
Fence height and material affect where poles can realistically sit relative to the court boundary, and they factor into the same light trespass and neighbour-impact planning covered above. CrowAll’s guide to tennis court fencing materials and maintenance covers the fencing side of a project in more depth.
Common Lighting Mistakes to Avoid
A handful of mistakes come up repeatedly on lighting projects CrowAll is called in to fix or advise on after the fact. Buying fixtures based on wattage alone, rather than actual delivered lumens, beam angle, and uniformity, is the most common one; two fixtures with identical wattage can produce very different results depending on optical quality. Skipping a proper layout plan and simply mounting whatever fixtures came with a kit wherever poles happen to fit is a close second, and it’s usually what produces the dark corners and glare complaints that lead to a costly redo. Underestimating trenching cost on a retrofit, assuming it will be as simple as running lighting alongside an existing court when it was never planned in, catches a lot of owners off guard on price. And ignoring light trespass entirely until a neighbour complains, rather than planning fixture aiming and pole placement with spill light in mind from the start, turns an otherwise straightforward upgrade into a dispute that’s expensive to fix after installation.
The CrowAll Approach to Lighting Projects
Lighting fits into CrowAll’s broader approach the same way any other finishing touch does, planned alongside the court itself rather than bolted on as an afterthought. On a new build, that means coordinating conduit trenching with the same laser-guided grading and base work every court needs, before the surface goes down. On an existing court, it means planning a retrofit that respects the finished surface, fencing, and drainage already in place. Either way, lighting is one of several finishing details, alongside fencing, line markings, and color selection, that CrowAll coordinates as part of a complete project rather than a separate add-on quote. Review CrowAll’s project gallery for examples of finished courts, and see why choose us and company profile for more on the construction and resurfacing capability behind every project.
Sport Court Lighting FAQ
How much does sport court lighting cost in Ontario?
Cost depends mainly on the number of poles and fixtures, pole height, trenching distance from the electrical panel, and whether it’s part of a new build or a retrofit. CrowAll doesn’t publish lighting as a standalone price since it’s typically scoped with the rest of a project; a free consultation is the most reliable way to get project-specific numbers.
Do I need a permit to install court lighting?
Lighting almost always requires an electrical permit for the new circuit, wiring, and connections, separate from any building or zoning permit the court structure itself needs. Check CrowAll’s guide on permits for a new sports court and confirm any municipal or HOA-specific lighting rules before finalizing a plan.
How many foot-candles does a tennis court need?
Recreational and backyard courts are typically lit to roughly 20 to 30 foot-candles, club and high school level courts to 30 to 50, and competitive or tournament-level courts higher still, up to 100 or more foot-candles for broadcast-quality lighting. These are industry design benchmarks rather than a legal requirement for a private or club court in Ontario.
Is LED better than metal halide for sport court lighting?
For almost every current project, yes. LED fixtures reach full brightness instantly, use less energy for equivalent brightness, last far longer between replacements, and hold their output more consistently over their lifespan than metal halide systems.
How tall should light poles be for a tennis court?
Most outdoor tennis and multi-sport court lighting uses poles in the 20 to 40 foot range, with taller poles generally producing better uniformity and less glare than shorter ones. Smaller backyard installations sometimes use shorter poles in the 12 to 20 foot range to manage cost and footprint.
Can existing courts be retrofitted with lighting?
Yes, retrofitting lighting onto an existing court is common, though it typically costs more than building lighting in during initial construction since trenching has to work around a finished surface, fencing, and drainage already in place.
What color temperature is best for court lighting?
Most sport lighting applications use fixtures in the 4000K to 5700K range, which produces a neutral to cool daylight-like appearance. Natural Resources Canada notes that the 5000K to 6500K range most closely mimics natural daylight, which is part of why that range is common for evening sport lighting.
Does pickleball court lighting need to be different from tennis lighting?
The core principles, uniformity, glare control, and adequate color rendering, are the same, but pickleball courts are frequently installed closer to neighbouring homes because of their smaller footprint, which makes light trespass control a more immediate practical concern on many pickleball lighting projects.
How close can light poles be to the court?
USA Pickleball’s own construction guidance recommends a minimum of 5 feet from the sideline to a light pole, with poles ideally centered on or just outside any perimeter fencing. Similar clearance principles apply to tennis and basketball court lighting layouts.
Will court lighting bother my neighbours?
It can, if fixtures aren’t properly aimed and shielded. Light trespass, spill light reaching a neighbouring yard or window, is one of the most common lighting complaints, and it’s controlled through fixture aiming, beam angle, and mounting height rather than by simply dimming the whole system.
How long do LED sport court lights last?
LED fixtures commonly carry rated lifespans between 50,000 and 100,000 hours, depending on fixture quality and how they’re used, compared to roughly 12,000 hours for a typical metal halide bulb.
Do LED lights work well in cold Ontario winters?
Yes. Unlike some lighting technologies, LED fixtures generally perform reliably in cold weather, with output that stays stable or can even improve slightly in cold air, and without the extended cold-weather warm-up delay that older metal halide systems have.
Can I add windscreens and lighting to my court at the same time?
Yes, and it’s worth planning them together since windscreen fabric can affect light distribution along the fence line. Confirming windscreen plans before a lighting layout is finalized avoids having to re-aim fixtures after the screen goes up.
What’s the difference between floodlight and modular court fixtures?
Floodlights throw a broad, relatively uniform beam and are the most common choice for lighting an entire court from a small number of poles. Modular or reflector-style fixtures allow more precise beam control, which is useful where light needs to be carefully aimed to avoid spilling past the court boundary.
Does court lighting increase property or facility value?
A well-designed lighting system extends how many hours a day a court can realistically be used, which is a meaningful practical value-add for both private courts and club or community facilities, even though CrowAll doesn’t publish specific resale or valuation figures.
How often should sport court lighting be inspected?
An annual visual check of fixtures, pole hardware, and wiring, along with a seasonal test of any photocells or timers, catches most issues before they become bigger problems. A full lighting audit, checking actual uniformity and output, is worth doing every few years or any time dark spots or complaints appear.
Can lighting be added to a multi-sport court?
Yes, and a multi-sport court should generally be lit to the standard of whichever sport on the shared footprint has the more demanding lighting requirement, rather than lighting to the least demanding use and leaving other sports under-lit.
Extending the Court Into the Evening
Lighting is one of the few upgrades that changes how much a court actually gets used rather than just how it looks or how long it lasts. A court that’s playable from six in the morning until well after dark, through most of the year rather than just the brightest summer months, earns back its cost differently than almost any other finishing touch. CrowAll works through lighting planning as part of new builds and as standalone retrofits on existing courts, from pole layout and fixture selection through the electrical and permitting side of the project. Reach out through CrowAll’s contact page to talk through a lighting plan alongside the rest of your court’s build or upgrade.