Backyard Volleyball Court Construction in Ontario: Getting the Surface and Site Right
We started getting calls about backyard volleyball courts a few summers back, usually from families who’d just spent a weekend setting up a net kit from a big box store, only to watch the poles lean sideways after the first real game or the “sand” turn into a dust bowl by August. The net and the ball are the easy part. What actually decides whether a backyard volleyball court holds up is almost entirely below the surface: the grading, the base, and the material you put the sand or grass on top of.
This guide walks through what goes into building a proper backyard volleyball court in Ontario: choosing between sand, grass, and hard-surface options, getting the dimensions and net height right, and handling the site work that most DIY guides skip entirely. We’ll also cover cost drivers, permits, maintenance, and the questions we hear most often from homeowners planning one.
What Backyard Volleyball Court Construction Actually Involves
Backyard volleyball court construction covers everything from picking the right spot in your yard to grading and preparing a base, choosing a surface material, setting posts and a net system, and marking or defining the boundary lines. Done properly, it also means planning for drainage so the court doesn’t turn into a mud pit every spring and fall.
Most online guides jump straight to “buy a net kit and find a flat spot.” That’s fine for a casual weekend setup that gets used a handful of times a summer. It falls apart once you want a court that plays well season after season, drains properly, and doesn’t need to be rebuilt every year. This is where site prep, the part almost nobody writes about, actually matters.
Choosing a Surface: Sand, Grass, or Hard Court
The surface is the first real decision, and it shapes almost everything else about the build, from the base underneath to how much maintenance the court needs.
Sand Courts
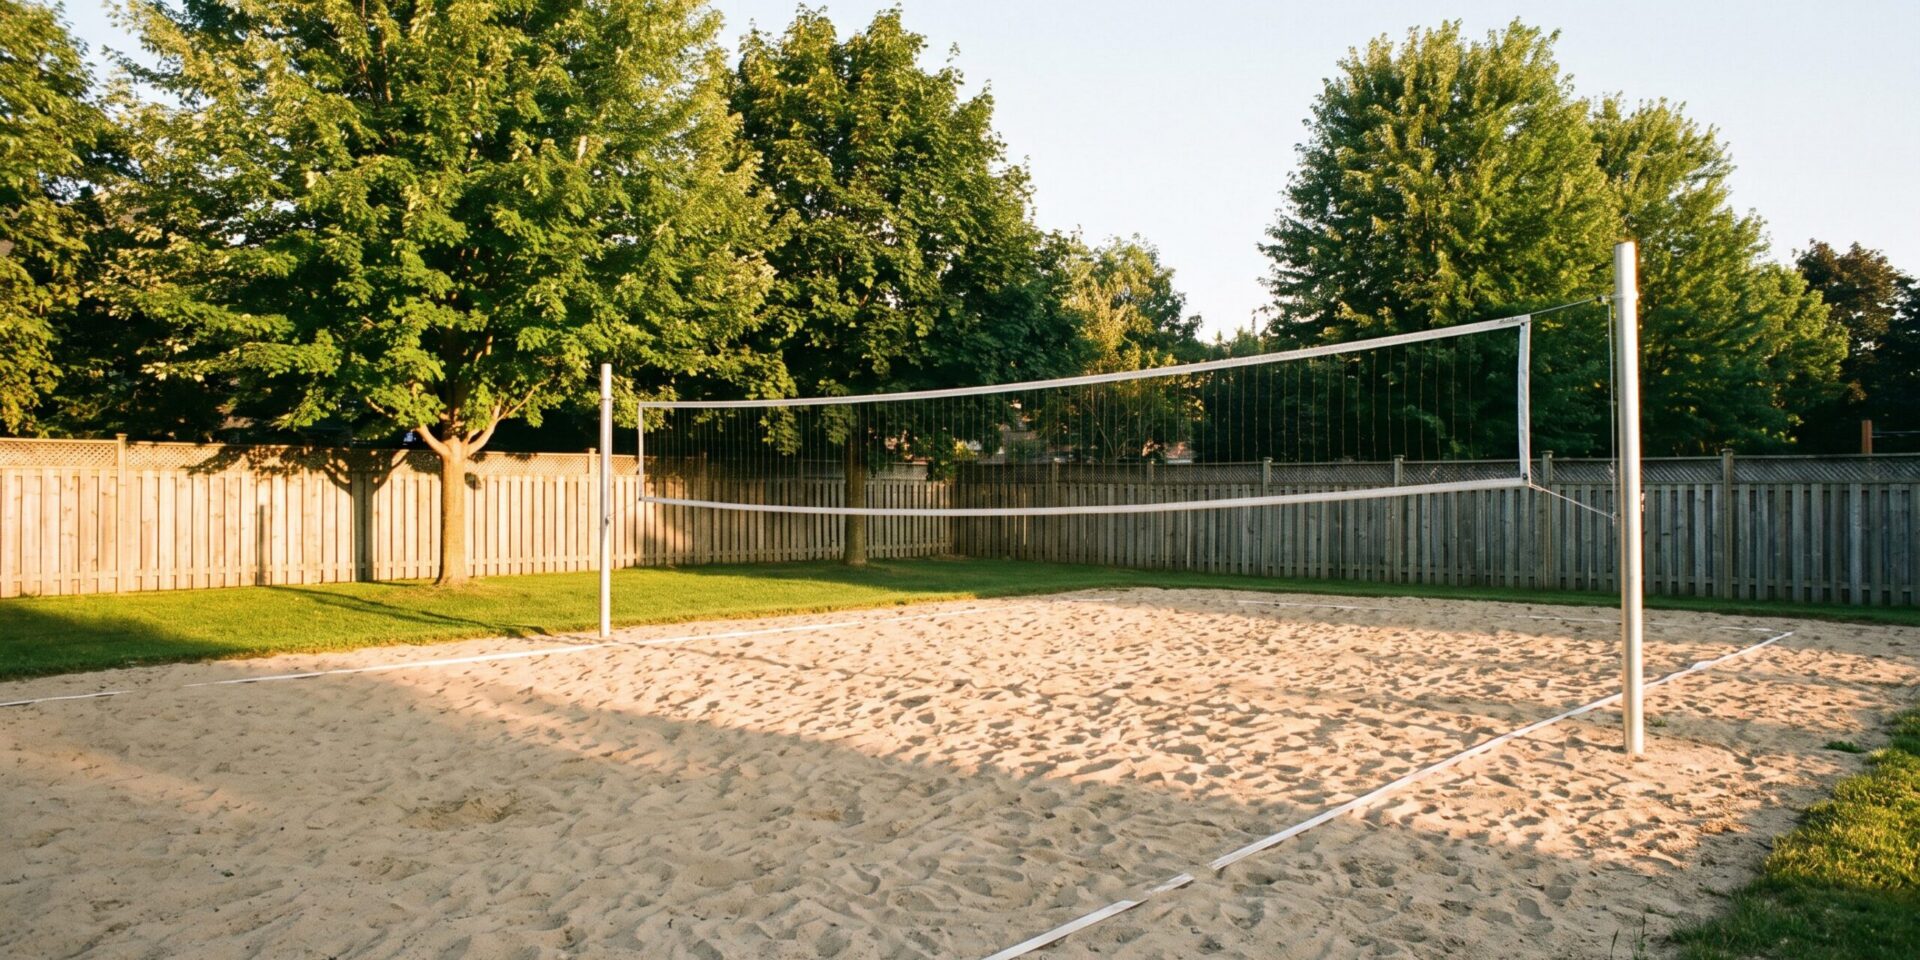
Sand is the classic backyard and beach volleyball surface, and for good reason. It’s forgiving on joints, safer for diving plays, and gives that “beach” feel even a few hours from the nearest actual beach. The tradeoff is that sand courts need real site work to perform well: a properly graded, well-draining base underneath, and the right sand on top. Not all sand is the same. Masonry sand and typical play sand carry too much fine dust and compact hard after rain, which turns a court dusty, hard on skin, and eventually swampy in low spots. Golf course bunker sand is engineered to do the opposite of what a volleyball court needs, since it’s meant to resist a ball sinking in rather than provide a soft, diveable surface.
Grass Courts
A grass volleyball court is the lowest-maintenance option if you already have a reasonably flat, healthy lawn. It plays differently than sand: the ball moves faster, diving hurts more, and the surface can get slippery when wet. Grass courts still benefit from grading if the yard has any meaningful slope, since water pooling in one corner will kill the turf there faster than anywhere else on the lawn.
Hard-Surface and Multi-Use Courts
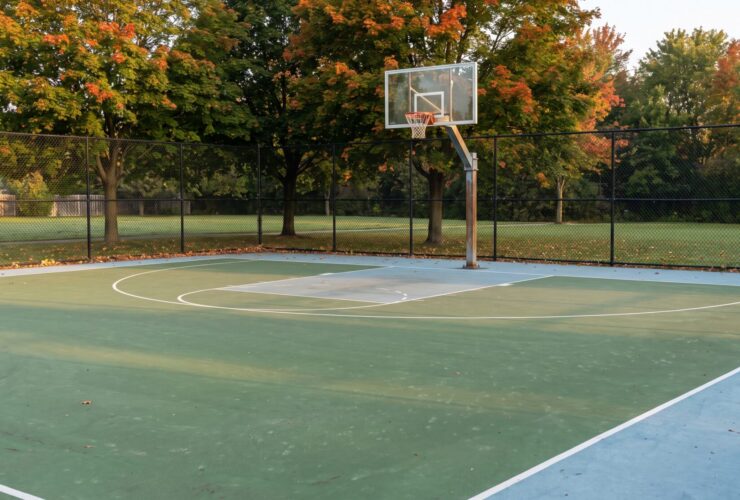
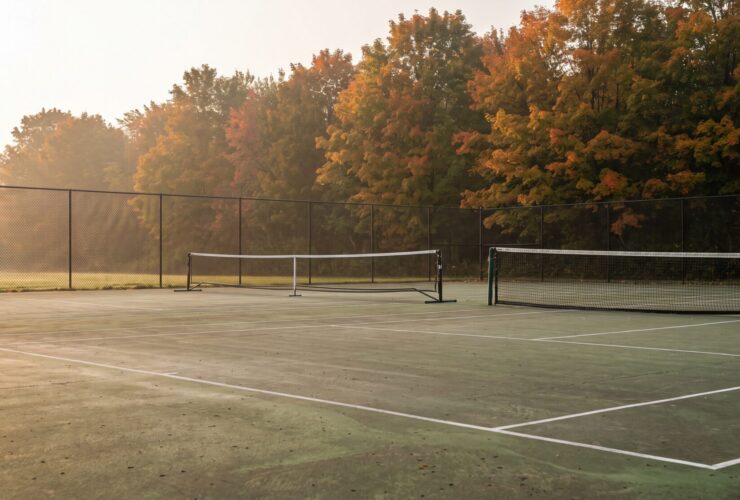
Some homeowners set up a volleyball net on an existing or new hard-surface pad instead, often as part of a multi-sport court that also plays basketball or pickleball. This works well for families who want one surface to do several things, though a hard court plays firmer and faster than sand or grass, and diving on it isn’t really an option the way it is on sand. If you’re weighing a dedicated tennis court or basketball pad against a volleyball-specific build, it usually comes down to how many sports the household actually wants on one footprint versus how much yard space is available.
| Surface | Feel of Play | Maintenance | Base Requirement |
|---|---|---|---|
| Sand | Soft, forgiving, closest to beach volleyball | Periodic raking, top-ups, debris removal | Graded, well-draining excavated base |
| Grass | Faster, firmer, can be slippery when wet | Regular mowing, overseeding worn spots | Level, well-drained lawn area |
| Hard surface / multi-sport pad | Firm and fast, no diving cushion | Occasional cleaning, resurfacing over years | Engineered granular base, similar to a tennis or basketball pad |
Volleyball Court Dimensions and Layout
Before you measure out a footprint, it helps to know what an actual regulation court looks like, using the FIVB Official Volleyball Rules as the reference point most backyard builds scale down from.
Standard Court and Net Dimensions
| Element | Metric | Imperial |
|---|---|---|
| Indoor/standard court | 18 x 9 m | 59 x 29.5 ft |
| Beach doubles court | 16 x 8 m | 52.5 x 26.25 ft |
| Attack line from centre | 3 m | 9.8 ft |
| Recommended free zone (beach) | 5 to 6 m per side | 16.4 to 19.7 ft per side |
| Net height, men’s | 2.43 m | 7 ft 11.75 in |
| Net height, women’s | 2.24 m | 7 ft 4.25 in |
Sizing a Court for Your Yard
Very few backyards have room for a full regulation court plus its recommended free zone on every side. Most residential builds scale down to a 2-on-2 or 3-on-3 footprint, often somewhere around 25 to 40 feet long depending on the yard, with as much clear buffer space around the boundary lines as the property allows. A tighter footprint isn’t wrong, it just means accepting less room to chase down balls near the edges, so it’s worth deciding upfront whether the household plays casual rallies or more competitive games before locking in a size.
Net Height and Post Placement
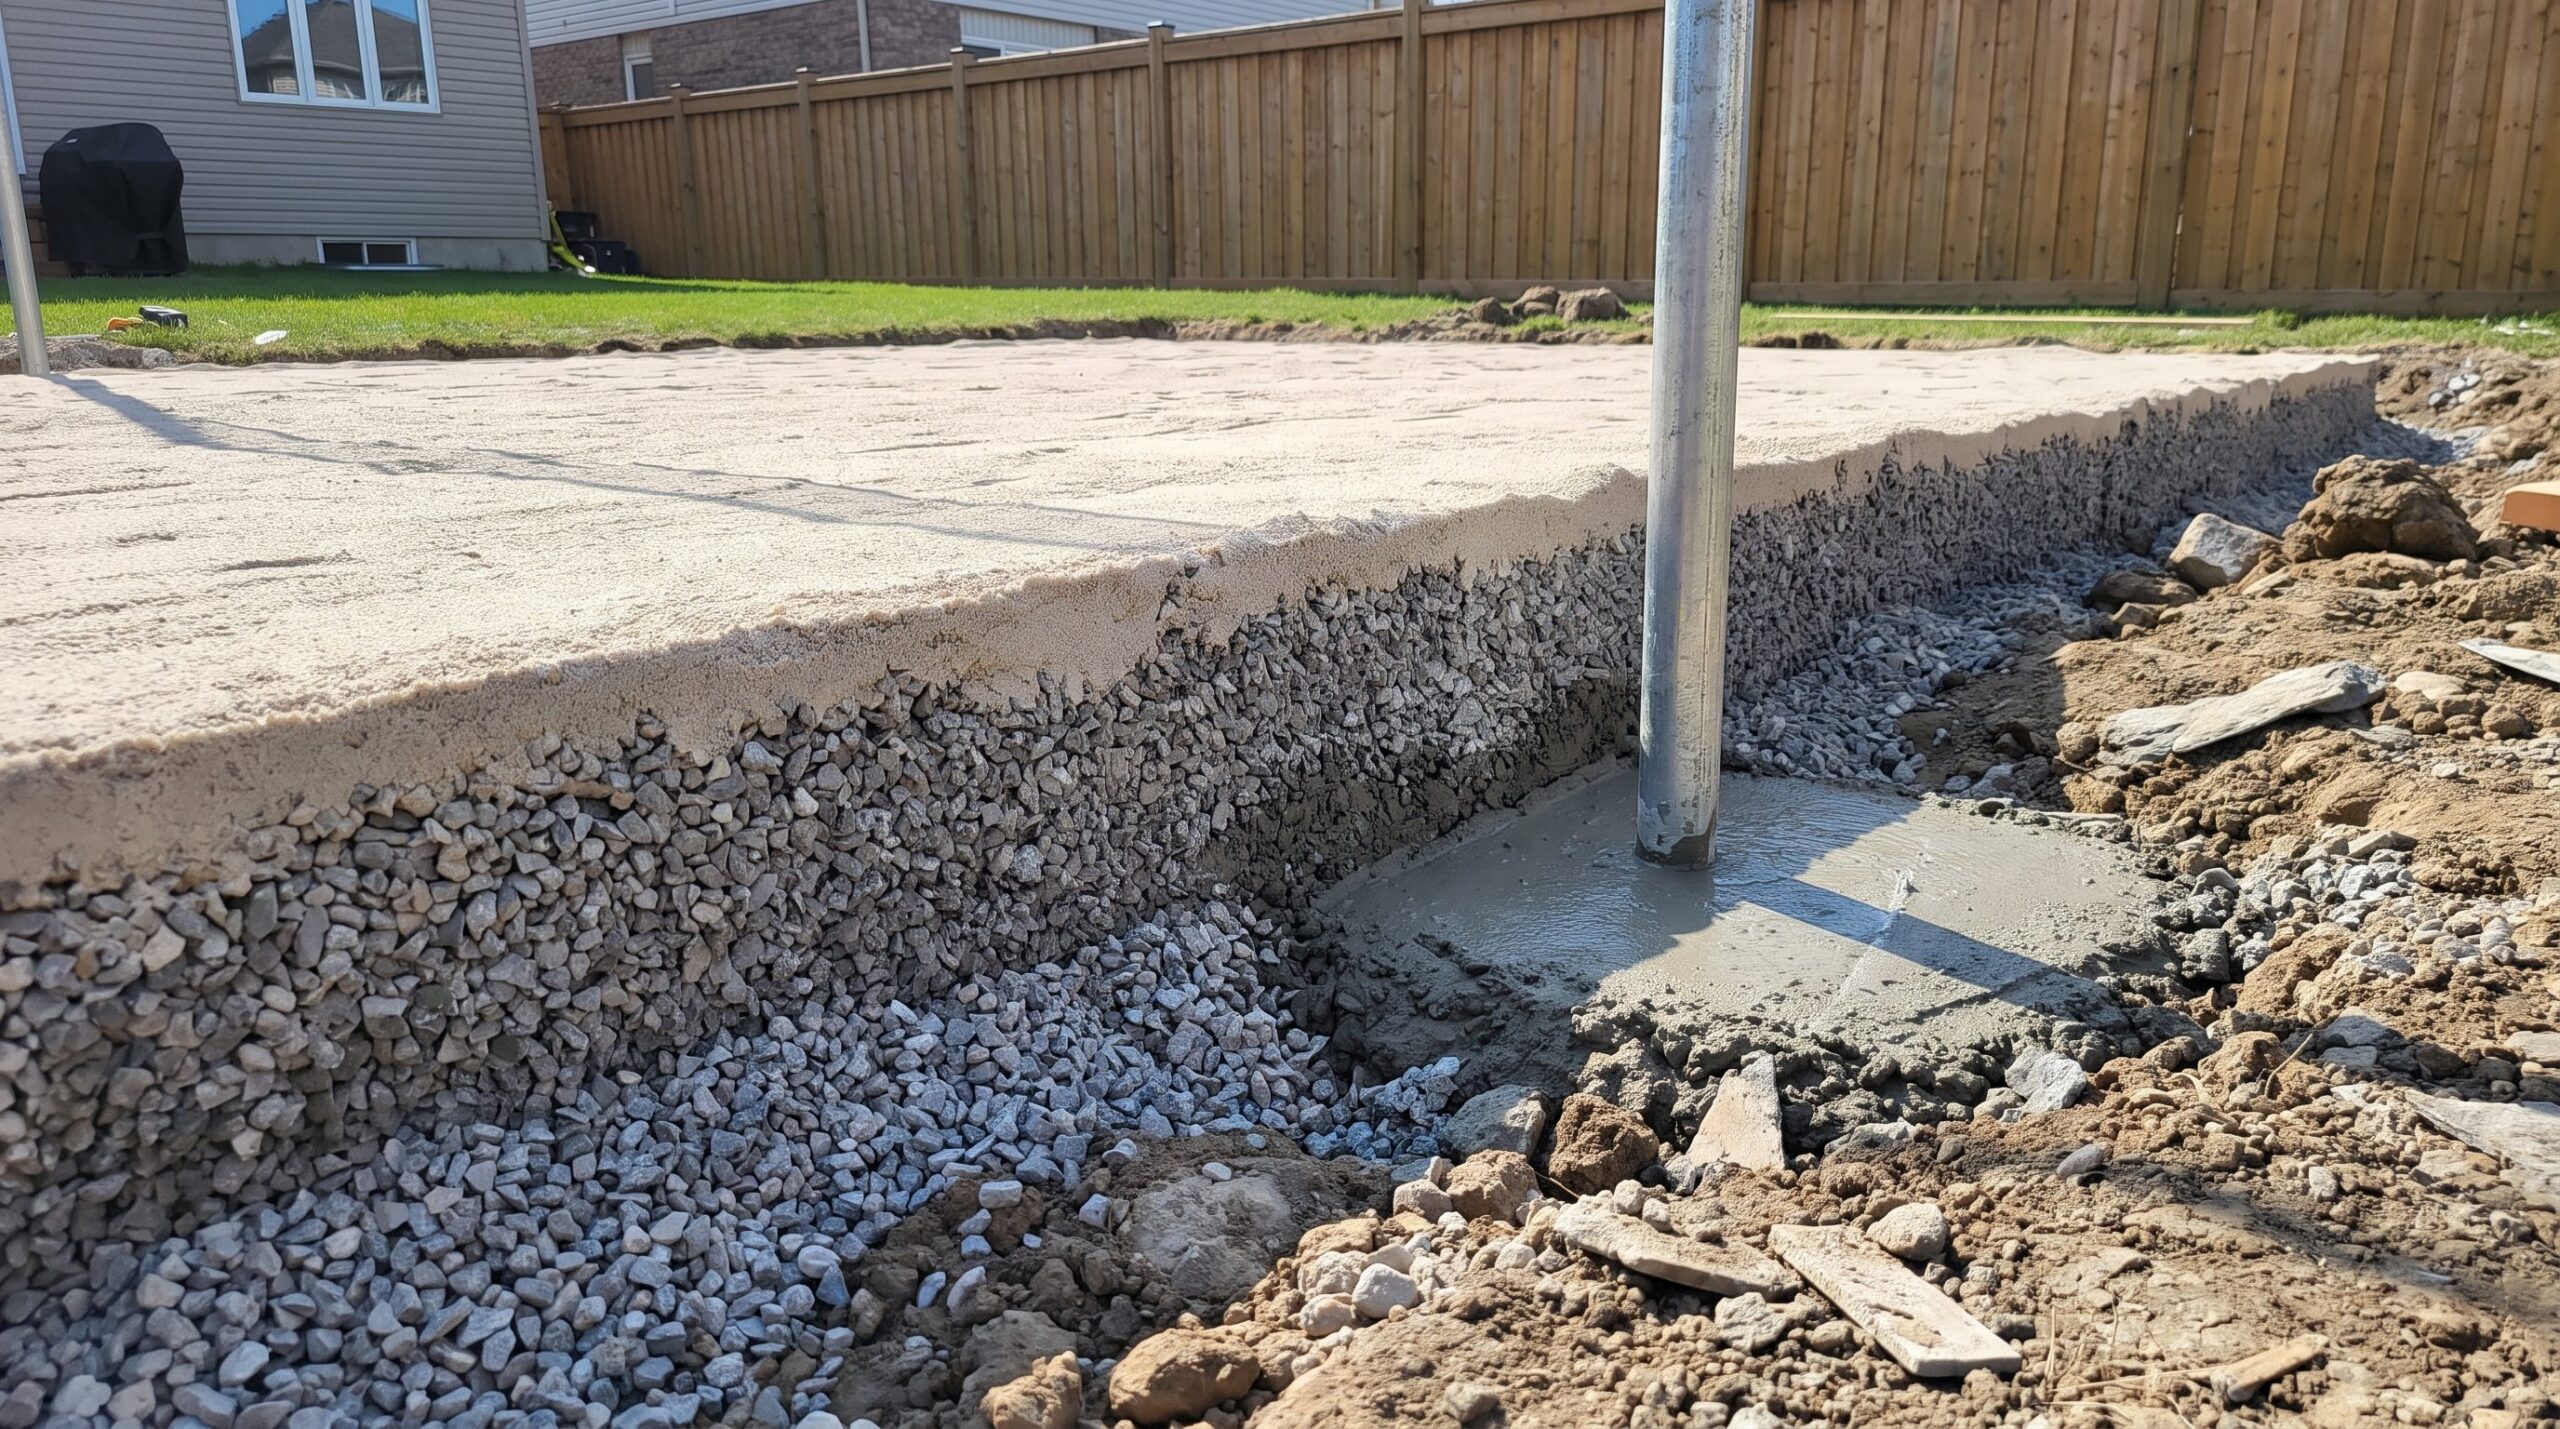
Most residential nets use an adjustable system so the same court can run at men’s height, women’s height, or a lower recreational height for kids. Posts need a footing that can handle real tension without leaning, which is one of the more common failure points on DIY setups where posts are just driven into loose soil.
Site Selection: Orientation, Sun, and Space
Court Orientation and Sun
A north-south orientation generally keeps low morning and evening sun out of players’ eyes better than an east-west layout, the same logic that guides orientation on tennis court construction. It’s not always possible in a smaller yard, so treat it as a preference to work toward rather than a requirement to force into a footprint that doesn’t fit.
Distance From Structures, Trees, and Utilities
Keep the court clear of low branches that interfere with high sets and serves, and well clear of fences, sheds, and pools where a diving player could make contact. Call before you dig to locate buried utility lines, especially if the build includes setting concrete footings for net posts. If the court will share yard space with a patio, garden, or play structure, working out the full layout as part of a broader landscape design plan avoids squeezing the court into whatever space happens to be left over.
Yard Slope
Almost every residential yard has some slope, even where it isn’t obvious standing on it. That slope matters more for a volleyball court than most people expect, since an uneven sand or grass surface changes how the ball bounces and where players’ footing gives out during a dive.
Grading, Base Construction, and Drainage
This is the step most DIY volleyball court guides skip almost entirely, and it’s the one that decides whether the court still plays well in year three.
Why Grading Matters for Sand and Grass Courts
A sand court sitting on unlevel or poorly compacted ground will develop low spots where water collects after every rain, and those spots stay soft, dusty, or waterlogged long after the rest of the court has dried out. A grass court on a slope sees the same problem in a different form: the low corner gets compacted and worn out faster because water and foot traffic both concentrate there.
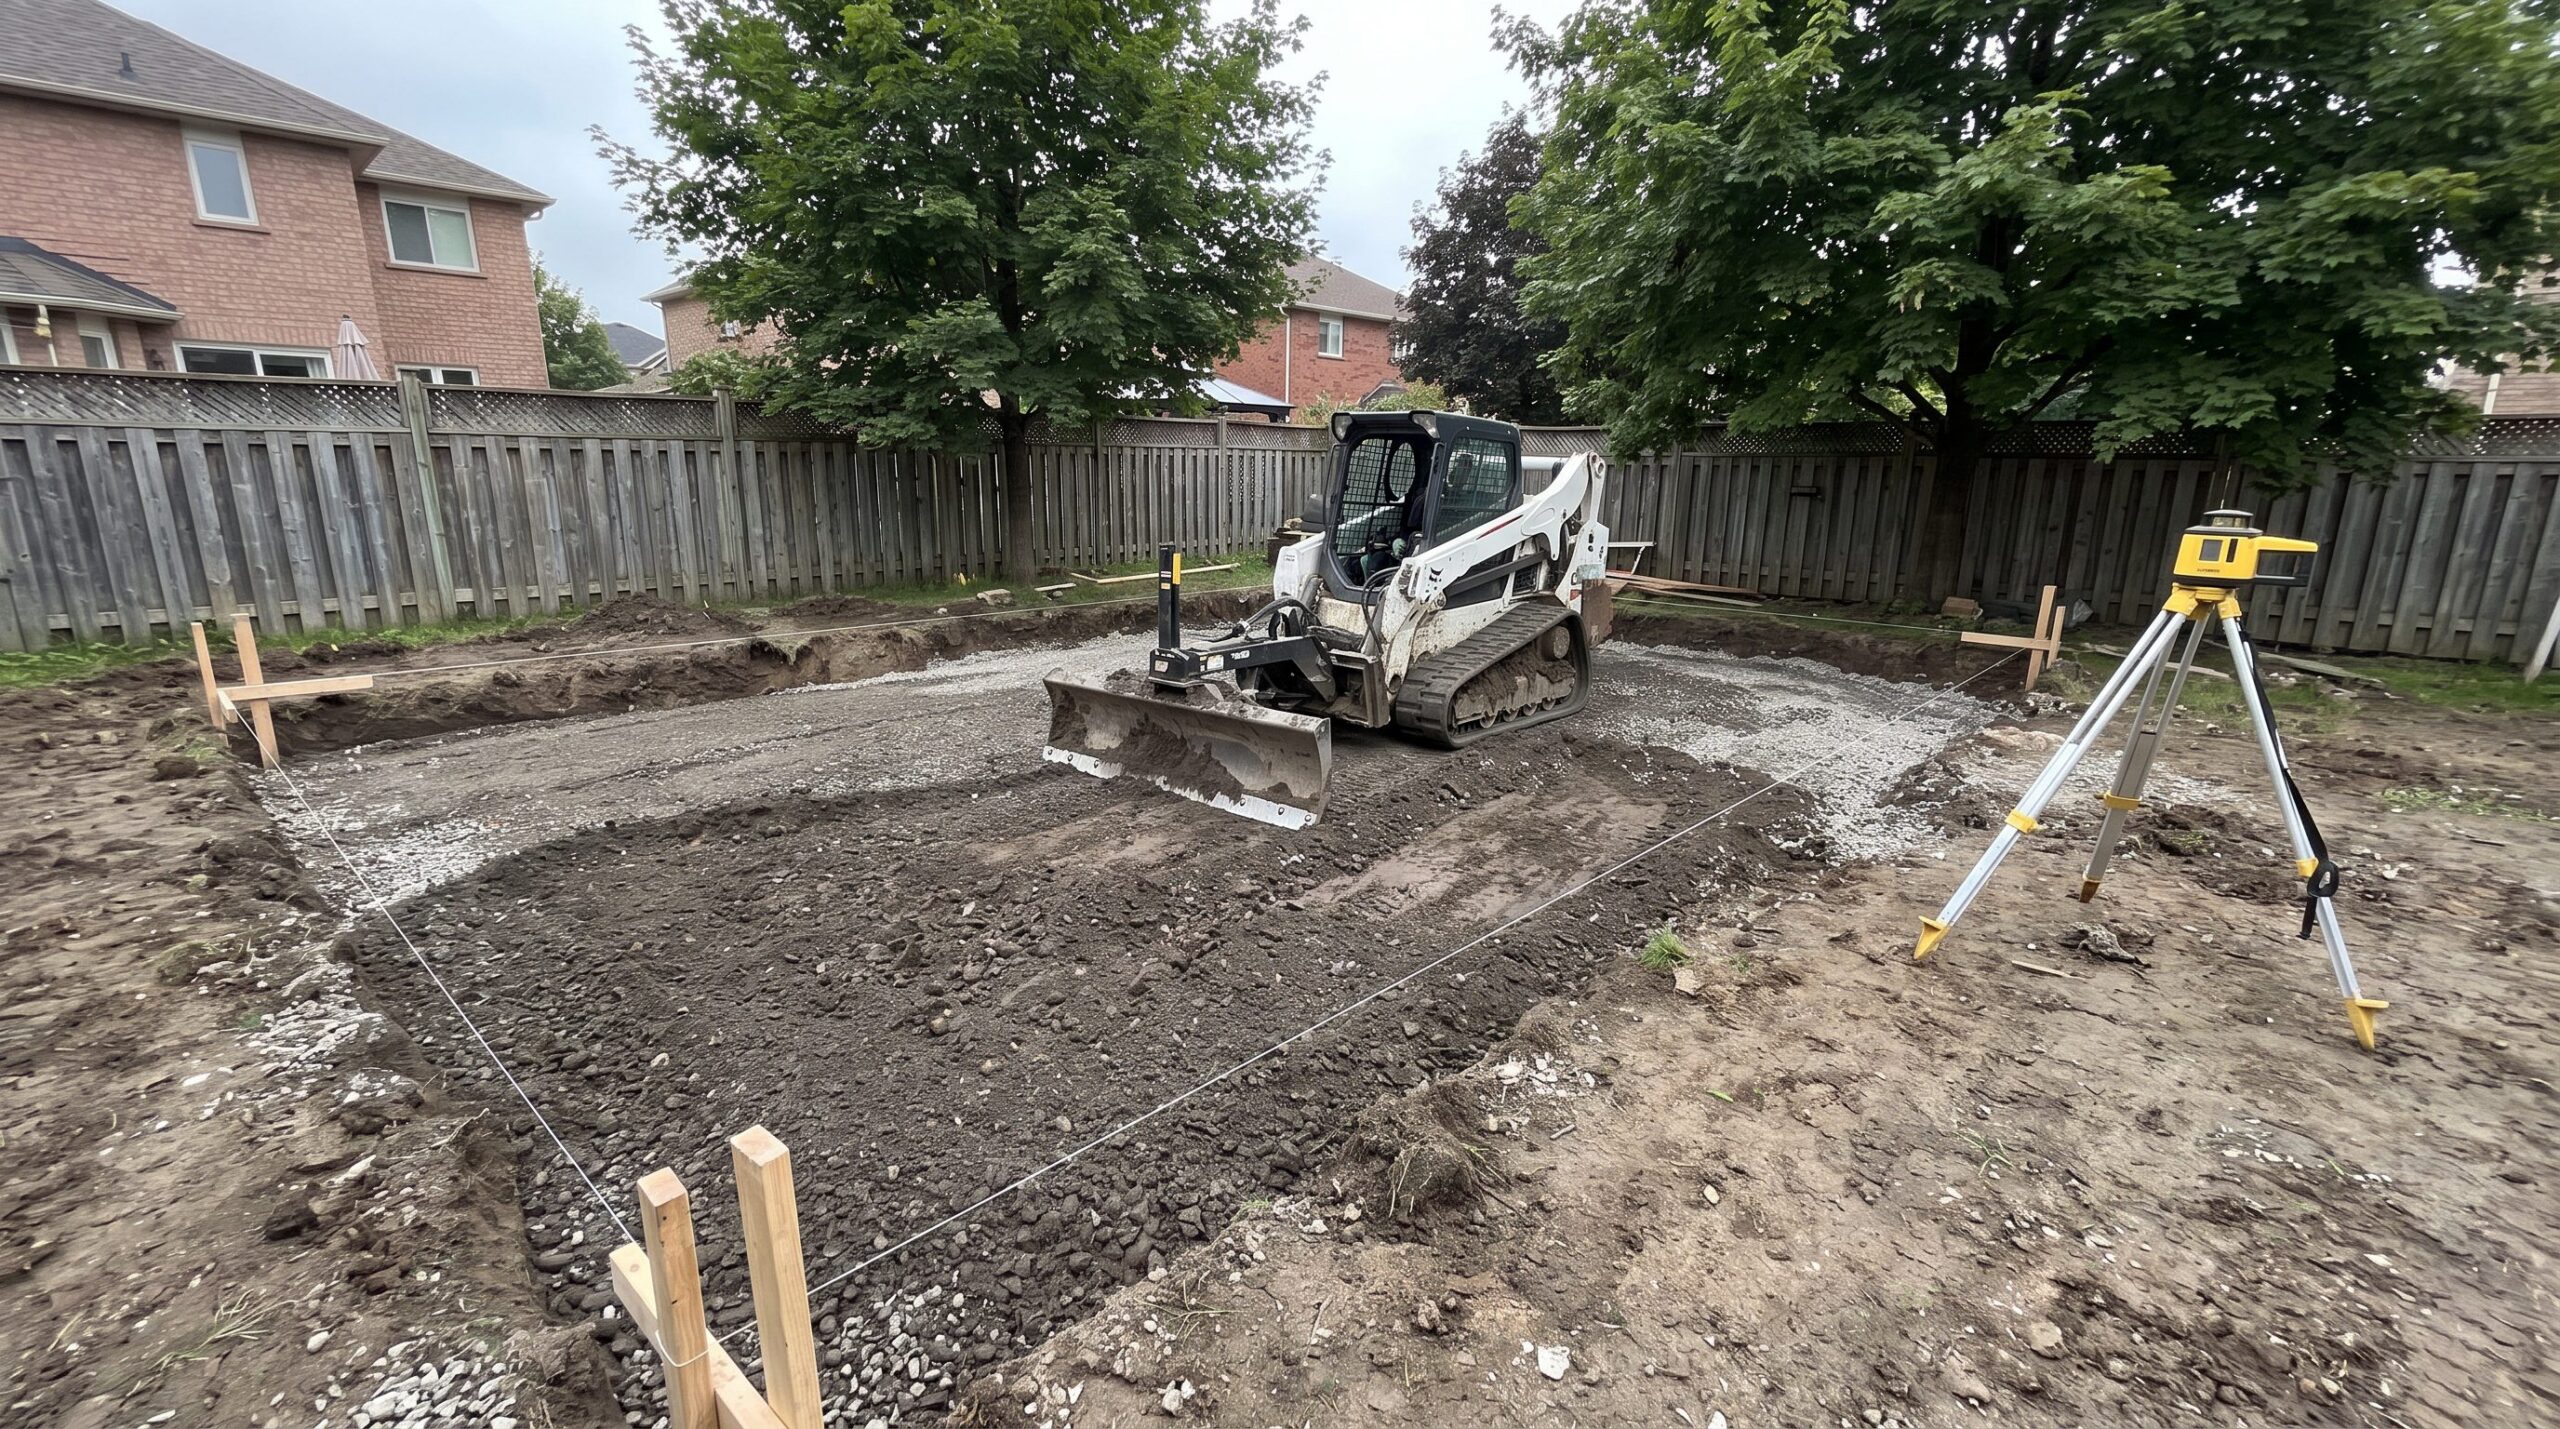
Laser-Guided Grading
Laser-guided grading sets a target slope across the court footprint to a tight, consistent tolerance, the same process used to prepare a base for a tennis or multi-sport court. For a volleyball court, that typically means a very slight, even fall directing water toward one edge rather than leaving several low points scattered across the sand or lawn. You can read more about what laser-guided grading involves and how it benefits an outdoor surface before deciding whether your yard needs it.
Drainage Beneath the Surface
A sand court needs to drain through and away from the base, not just across the top. The same drainage principles that keep a tennis court’s base dry apply here: get water moving toward a spot in the yard that can actually absorb or channel it, rather than leaving it to find its own way and pool against a fence line or foundation. Accurate grading is what makes that drainage work in the first place, on a volleyball court just as much as on any other outdoor surface.
| Factor | DIY on Existing Grade | Professionally Graded Base |
|---|---|---|
| Levelling method | Eyeballing the yard, shovel and rake | Laser-guided grading to a target tolerance |
| Drainage after rain | Water pools wherever the yard already slopes | Slope directed away from structures and low spots |
| Sand or turf longevity | Compacts and shifts unevenly over seasons | Stays consistent across multiple seasons |
| Post stability | Depends on native soil compaction | Footings set into a properly prepared base |
| Setup effort | Lower upfront | Higher upfront, less rework later |
Sand Selection and Depth
If you’re going the sand route, the sand itself matters as much as the base underneath it. Volleyball sand needs to be washed, well-graded, and free of the fine dust that makes masonry or standard play sand a poor choice. Too fine, and it turns to dust and tracks everywhere. Too coarse, and it scrapes bare skin on every dive. Most professionally built sand courts use a sand bed of roughly a foot or more over a properly draining sub-base, though the exact depth depends on your yard’s native soil, drainage, and how the court will actually be used. A shallow layer of the right sand over a poorly prepared base will still cause problems, since the water table underneath it hasn’t changed.
Posts, Nets, and Boundary Lines
A backyard net system needs posts that can handle real tension without leaning inward over a season of play. Aluminum and galvanized steel posts, set in a proper footing, hold up far better than wood stakes driven into loose soil. The same principles that apply to a tennis court’s net system, tension, anchoring, and material choice, carry over directly to a volleyball net setup. Boundary lines can be painted, taped, or set with a fixed in-ground boundary system, and if the court sits near a property line or a shared side yard, a section of fencing keeps stray balls from becoming a conversation with the neighbours.
Combining a Volleyball Court With Other Sports
A dedicated volleyball court is a fairly small footprint compared to a tennis or basketball pad, which makes it a natural fit inside a larger multi-sport court layout, sharing a hard surface with basketball, pickleball, or other net sports rather than taking up separate yard space. Homeowners who already have an artificial turf area, like one built for a bocce court, sometimes ask whether the same turf can host a grass-style volleyball setup. It’s worth comparing how artificial turf performs against natural grass for sports use before deciding, since the two surfaces play and drain differently under repeated diving and lateral movement. Some properties round out the yard even further with a backyard putting green installation, which follows the same site-prep and drainage logic as a turf sport court.
Construction Phases
| Phase | What Happens |
|---|---|
| Site selection and layout | Walk the yard, choose orientation, call before you dig |
| Excavation and grading | Remove existing turf/soil, grade to target slope |
| Drainage and sub-base | Install drainage path, compact granular base |
| Surface installation | Add sand, lay sod or seed, or install hard surface |
| Post footings and net system | Set post footings, install adjustable net hardware |
| Boundary lines and finishing | Mark or install boundary lines, clean up site |
Best Time of Year to Build in Ontario
Excavation and grading go faster, and hold up better, when the ground is workable and not saturated from spring melt or frozen solid. That generally lines up with the best time of year to build a sports court in Ontario, which applies just as well to a volleyball court’s excavation and base work as it does to a full sport court build. Building earlier in the season also means more usable playing time before the weather turns.
Permits and Zoning in Ontario
A simple net-and-sand setup on level ground usually doesn’t trigger much in the way of permitting, but that changes once concrete footings, fencing, lighting, or a graded hard surface come into the picture. Our guide to permits for backyard sports courts walks through when a permit is actually required, and zoning rules for residential court installations cover setback and property line questions that apply just as much to a volleyball court as to a tennis or basketball pad. It’s worth a call to your municipality before any digging, especially near a property line or shared fence.
Accessibility Considerations
If the court needs to be usable by a player with mobility limitations, plan a level, obstacle-free access path to the court edge rather than requiring a step over a boundary line or through soft sand. Ontario’s accessibility standards under the Accessibility for Ontarians with Disabilities Act apply broadly to the built environment, and it’s a reasonable framework to keep in mind even for a residential build that isn’t legally required to comply.
Maintenance
| Task | Frequency | Why It Matters |
|---|---|---|
| Rake and level sand | Weekly during active use | Redistributes sand pushed to the edges during play |
| Remove debris and organic matter | After every use | Leaves and twigs hold moisture and attract insects in sand |
| Mow and overseed (grass courts) | Regularly through the growing season | Keeps worn patches from turning to bare dirt |
| Check net tension and post stability | Monthly during the season | Loose tension or leaning posts get worse quickly under play |
| Top up sand | Annually, or as needed | Sand compacts and shifts out of the court over time |
| Off-season inspection | Once before and once after winter | Catches drainage or grading issues before they get worse |
Keeping up with small maintenance tasks is a lot cheaper than letting a court degrade to the point of needing to be rebuilt. That’s the same logic behind the cost-benefit case for professional maintenance on any outdoor surface, sand and grass courts included.
What Drives the Cost of a Backyard Volleyball Court
Costs vary widely depending on the yard and the choices made along the way, so it’s more useful to walk through what drives the number than to quote a figure that won’t match your property. Surface choice is a major factor: a simple net kit on existing grass costs far less than a fully excavated and graded sand court. Site conditions matter just as much. A flat, well-draining yard needs comparatively little prep work, while a sloped lot, poor drainage, or a footprint that has to route around trees or utilities adds grading and drainage work a flat lot simply doesn’t need. Whether posts and boundary lines are a semi-permanent setup or a full concrete-footed system also shifts the cost, along with how large a footprint the household wants. It’s the same set of tradeoffs we walk clients through when planning any sport court landscaping project from the ground up.
Common Mistakes and Warning Signs
Skipping grading because the yard “looks flat enough” tops the list, and it’s usually the first thing that shows up as a problem once the first heavy rain hits. Using the wrong sand is a close second, since masonry or play sand looks fine in the bag and turns into a dusty, compacting mess within a season. Driving posts into loose, ungraded soil without a real footing is the quiet failure mode: everything looks fine for a few weeks, then a post leans or pulls out mid-game. Undersizing the footprint is common too, since a court that looked plenty big on paper often feels cramped once actual rallies start. And building right where water already collects, rather than checking drainage first, is a mistake we see turn a new court into a seasonal swamp by the following spring.
New Build vs. Repurposing Existing Yard Space
Building a volleyball court from bare lawn gives full control over placement, orientation, and size, but it means doing the grading and drainage work from scratch. Repurposing a section of an existing hard court, like adding a volleyball net system to a backyard basketball court or a pickleball court, skips most of that groundwork since the base is already flat and stable. It does mean the volleyball layout has to work around the existing court’s dimensions and surface rather than being designed around volleyball first. Some households even flood part of a shared pad for a backyard ice rink once winter arrives, getting year-round use out of one well-built base. Either approach can work well. It usually comes down to whether a suitable paved or graded surface already exists on the property.
Planning Checklist Before You Build
| Step | Check |
|---|---|
| 1 | Choose a surface: sand, grass, or hard court |
| 2 | Confirm the footprint clears trees, structures, and property lines |
| 3 | Call before you dig to locate buried utilities |
| 4 | Check municipal permit and zoning requirements |
| 5 | Measure existing yard slope before finalizing the layout |
| 6 | Decide where surface water will drain |
| 7 | Select sand type or grass seed appropriate to the surface |
| 8 | Plan post footings and net system before ordering equipment |
| 9 | Schedule grading and base work for early-to-mid season |
Frequently Asked Questions
What is backyard volleyball court construction?
Backyard volleyball court construction is the process of selecting a site, grading and preparing a base, choosing a surface such as sand or grass, and installing posts, a net system, and boundary lines to create a playable court on residential property.
How big should a backyard volleyball court be?
A regulation court measures 59 by 29.5 feet, but most backyard builds scale down to a 2-on-2 or 3-on-3 footprint, often 25 to 40 feet long, depending on the available yard space and how much buffer room the property allows around the boundary lines.
How high should a volleyball net be?
The official men’s net height is 2.43 metres, or about 7 feet 11.75 inches, and the women’s height is 2.24 metres, or about 7 feet 4.25 inches. Most residential net systems adjust between these heights and lower recreational settings for kids.
Is sand or grass better for a backyard volleyball court?
Sand is softer and safer for diving, but needs a properly graded, well-draining base and the right type of sand to avoid dust and compaction. Grass is lower-maintenance if you already have a flat, healthy lawn, but plays faster and can get slippery when wet.
What kind of sand do I need for a volleyball court?
Volleyball sand should be washed and well-graded, without the fine dust common in masonry or standard play sand. Golf course bunker sand is engineered for the opposite purpose and isn’t a good substitute.
Do I need to grade my yard before building a volleyball court?
Any meaningful slope should be corrected with grading, since uneven ground causes water to pool in low spots, which leads to soggy sand, compacted turf, or an unstable base under the net posts.
How deep does the sand need to be on a sand volleyball court?
Most professionally built sand courts use a bed of roughly a foot or more over a properly draining sub-base, though the right depth depends on the yard’s native soil, drainage, and intended use.
Do I need a permit to build a backyard volleyball court in Ontario?
A simple net-and-sand setup on level ground usually doesn’t trigger a permit, but concrete post footings, fencing, lighting, or a graded hard surface can change that. It’s worth checking with your municipality before any digging.
Can I put a volleyball court on an existing basketball or pickleball court?
Yes, a volleyball net system can be added to an existing hard court, since the base is already flat and stable. The volleyball layout has to work around the existing court’s dimensions rather than being designed around volleyball first.
What’s the best time of year to build a volleyball court in Ontario?
Excavation and grading go best when the ground is workable and not saturated from spring melt or frozen solid, which generally lines up with the same seasonal window used for other sport court construction in Ontario.
How do I stop water from pooling on my volleyball court?
Grade the base with a slight, consistent slope directing water toward a spot that can absorb or channel it, rather than letting it sit in a low corner or against a fence line, the same principle used in grading any outdoor sport surface.
What causes volleyball net posts to lean over time?
Posts set into loose, ungraded soil without a proper footing gradually lean or pull out under the repeated tension of the net, especially after the ground softens from rain or freeze-thaw cycling.
How much space do I need around the court for safe play?
Official beach volleyball rules call for a free zone of 5 to 6 metres, or roughly 16 to 20 feet, on each side of the court. Most backyards can’t fit that much buffer, so plan for as much clear space as the yard reasonably allows.
Can a volleyball court share space with other backyard sports?
Yes, a volleyball net system fits well within a larger multi-sport court footprint alongside basketball or pickleball, since the volleyball court itself is a relatively small addition to a hard surface built for other sports.
How often does a sand volleyball court need maintenance?
Sand should be raked and leveled weekly during active use, with debris removed after each game, an annual sand top-up, and a full inspection of grading and drainage before and after winter.
What’s the difference between beach and grass volleyball rules?
Beach volleyball is typically played 2-on-2 on a smaller court with softer, lighter balls, while grass and standard courts more often use the full 6-on-6 format and rules closer to indoor play, though casual backyard games rarely follow either ruleset strictly.
If you’re weighing sand against grass, wondering whether your yard needs grading before you order a net kit, or thinking about folding a volleyball court into a larger multi-sport layout, get in touch with CrowAll Surface Contractors to talk through your site conditions. Read more about why Ontario property owners choose us for grading, drainage, and outdoor surface work, or learn more about the company behind the work. You can also browse our full range of sport and landscape services if the volleyball court is one piece of a bigger backyard plan.
Editor’s Note: Images Used in This Article
- backyard-volleyball-court-ontario-sand-surface.jpg (2560×1429, JPG, ~908 KB) – featured/hero image. Title: “Backyard Sand Volleyball Court in an Ontario Backyard.” ALT: “Professionally built backyard sand volleyball court with net and poles in a suburban Ontario yard at golden hour.” Caption: “A level, well-drained base is what keeps a backyard volleyball court playable season after season.” Prompt used: Photorealistic wide-angle photograph of a professionally built backyard sand volleyball court in a suburban Ontario, Canada backyard during late summer afternoon, light tan sand surface, white boundary lines, volleyball net strung between two aluminum poles, surrounding lawn and wood privacy fence, a few mature trees, warm golden-hour sunlight, clear sky, no people, no logos, no text, no watermarks, realistic outdoor photography.
- laser-guided-grading-volleyball-court-base.jpg (2560×1429, JPG, ~1010 KB) – inline image. Title: “Laser-Guided Grading for a Backyard Volleyball Court Base.” ALT: “Laser-guided grading equipment leveling an excavated base for a backyard volleyball court.” Caption: “Grading the base to a consistent slope keeps sand or grass draining the way it should.” Prompt used: Photorealistic ground-level construction photograph of laser-guided grading equipment leveling a rectangular excavated base for a backyard volleyball court in a residential Ontario backyard, wooden stakes and string lines marking the perimeter, exposed compacted soil and gravel base, small grading laser receiver on a tripod, overcast daytime lighting, no people, no text, no logos, no watermarks, realistic construction photography.
- volleyball-court-sand-base-net-post-footing.jpg (2560×1429, JPG, ~885 KB) – inline image. Title: “Sand Court Base Layers and Net Post Footing.” ALT: “Layered gravel and sand base with a volleyball net post footing being set in concrete at a court edge.” Caption: “Net posts need a footing that can take repeated tension from the net without shifting over time.” Prompt used: Photorealistic close-up construction photograph of a partially built outdoor volleyball court base showing layered cross-section at the edge, compacted gravel sub-base, layer of clean washed sand on top, a galvanized steel volleyball net pole footing being set in concrete at the court edge, residential Ontario backyard setting, daytime natural light, no people, no text, no logos, no watermarks, realistic outdoor construction photography.
AI-generated photography should not be relied on for precise technical measurements. A human designer should build the following before this article is used for client-facing sales collateral: a scaled court-dimension diagram comparing indoor, beach, and typical backyard footprints, a base cross-section showing sand depth and drainage direction, a build-sequence timeline graphic, and a printable planning checklist matching Table 6.