Backyard Ice Rink Construction in Ontario: Getting the Site Right Before You Flood It
Every November, CrowAll gets calls from Ontario homeowners who spent a weekend building a rink from a big-box kit two years ago and are now asking why the ice cracked by January, why one corner never froze properly, or why the yard turned into a swamp every spring after teardown. Almost none of it comes down to the liner or the boards. It comes down to what was under the rink before the water ever went in.
A backyard ice rink looks like a simple weekend project: some boards, a tarp, a garden hose, and cold weather. That part is true. What most DIY guides skip is the site work that decides whether the rink freezes evenly, drains properly once the season ends, and survives more than one or two winters without the boards racking out of square. This guide covers that side of the project, along with sizing, materials, Ontario’s climate timing, safety, and the questions we get asked most often before a rink build.
What Backyard Ice Rink Construction Actually Involves
Backyard ice rink construction covers everything that happens before, during, and after the ice itself: choosing and measuring the site, grading it level, building a perimeter frame or boards, laying a liner, flooding and building up the ice in layers, then managing the surface through the season and tearing it down without damaging the lawn underneath.
Most online guides focus almost entirely on the boards-and-liner step, because that’s the visible, photogenic part. The site prep step gets a sentence or two: “find a flat spot in your yard.” For a rink that has to hold thousands of litres of water and survive an Ontario winter’s freeze-thaw swings, that sentence is doing a lot of unexamined work.
Why Site Prep Matters More Than the Liner You Buy
A rink liner or tarp is only as good as the surface underneath it. If the ground isn’t level, water finds the low spots first and freezes there while the high spots stay bare or thin. If the soil doesn’t drain, spring meltwater sits against your foundation, deck footings, or lawn for weeks. Neither problem gets fixed by upgrading to a thicker liner.
Ground Slope and Water Pooling
Most residential yards have some slope, often more than homeowners realize until they try to hold four inches of water evenly across a 20-by-40-foot rectangle. Even a two or three percent grade across a rink footprint can mean six or eight inches of depth difference from one end to the other, which is exactly what produces thin, cracked ice on the high side and an over-deep, slow-freezing pool on the low side.
DIY guides typically suggest picking “the flattest part of the yard” and shimming the low boards with lumber. That works for a small, casual rink. It becomes a real limitation once you’re trying to build a rink large enough for actual hockey, or one that has to survive multiple seasons without re-leveling every fall.
Soil Type and Drainage After the Season Ends
Clay-heavy soils, common across parts of the GTA and southwestern Ontario, hold water long after a rink comes down in March. A rink built without any thought to where that meltwater goes can leave a soggy, compacted rectangle in the lawn well into May, sometimes with visible turf damage where the ice sat longest.
This is where a court-building background is actually useful for a rink. The same principles that keep a tennis court’s base draining properly apply to a backyard rink footprint: get the water moving away from structures and toward a spot in the yard that can actually absorb or channel it, instead of leaving it to find its own way.
DIY Kits vs. Professional Site Preparation
Most backyard rinks in Ontario are still built the DIY way, and for a small, casual rink used for a few winters, that’s a completely reasonable approach. Professional site prep earns its cost back on larger rinks, sloped yards, rinks built on the same footprint every year, or rinks that share a base with another sport surface. Here’s how the two approaches typically compare.
| Factor | DIY Kit on Existing Grade | Professionally Graded Base |
|---|---|---|
| Levelling method | Shimming boards, eyeballing slope | Laser-guided grading to a target tolerance |
| Water depth consistency | Varies with existing slope | Even depth across the full footprint |
| Drainage after teardown | Water drains wherever the yard already slopes | Slope directed away from structures and low spots |
| Repeatability year to year | Re-check and re-shim most seasons | Base stays consistent for multiple seasons |
| Typical rink size | Small to mid-size casual rinks | Any size, including full-sheet or shared-use rinks |
| Weekend setup time | Lower | Higher upfront, lower every year after |
Choosing the Right Location in Your Yard
Before you measure a single board, walk the yard at different times of day and think about more than flatness.
Sun Exposure and Wind
A spot that gets full afternoon sun will lose ice quality faster than a shaded one, especially during the shoulder weeks in early winter and late in the season when daytime temperatures creep above freezing. North-facing yards or spots shaded by the house hold ice longer through an Ontario winter’s warm spells. Wind exposure matters too: a rink tucked against a fence or hedge sees less wind-driven evaporation and fewer leaves and debris blown across fresh ice.
Distance From Trees, Structures, Septic and Utilities
Keep the footprint clear of tree roots that can heave a base over winter, and well clear of septic fields, weeping tile, and buried utility lines. Ontario’s One Call service exists for exactly this reason, and it’s worth a call before any digging or grading, even for something as ordinary-seeming as a rink base. Overhanging branches also drop debris and sap onto fresh ice, so a spot with some tree canopy overhead usually means more scraping and cleaning through the season. If the rink is going to share the yard with patios, gardens, or a play structure, it’s worth working out the full layout together rather than squeezing the rink into whatever space is left, which is where a broader landscape design plan earns its keep.
Sizing Your Rink: Common Dimensions and Layouts
There’s no single “backyard rink size.” Most homeowners size the rink to the yard first, then decide what kind of play it needs to support. It helps to know what the official playing surfaces look like before you decide how much of that to fit into your own footprint, using the dimensions in the IIHF Official Rulebook as the reference point for regulation ice surfaces.
| Rink Type | Approximate Size | Notes |
|---|---|---|
| Small pleasure rink | 16 x 30 ft | Skating and casual shooting, fits most yards |
| Mid-size family rink | 20 x 40 ft | Room for shinny games with a handful of players |
| Large backyard rink | 30 x 60 ft | Needs a larger, genuinely flat yard or a graded pad |
| NHL regulation | 200 x 85 ft (61 x 25.9 m) | Reference only, rarely built residentially |
| IIHF international | 197 x 98 ft (60 x 30 m) | Reference only, used for scale comparisons |
Why the Size Differences Matter for Layout Planning
A rink built for skating laps and stickhandling drills needs far less room than one meant for actual small-area games. If your household plays more shinny than skating, plan for extra width rather than length. If the rink shares yard space with a backyard basketball court or another paved surface, measure the existing pad first and design the rink footprint to sit on or beside it rather than fighting the yard’s natural grade in a completely separate spot.
Rink Boards, Liners, and Materials
Board Height and Material
Most residential rink boards run somewhere between 4 and 12 inches high, built from dimensional lumber, plastic composite panels, or purpose-made rink board kits. Taller boards hold more water and contain pucks better for hockey play, but they also put more outward pressure on the frame, which is where cheaply staked DIY boards tend to fail partway through the season.
Liner Types
A heavy-duty white poly liner is the standard choice, reflecting light back up through the ice and making it easier to spot cracks or debris. Plain painter’s tarps work for a season or two but tear more easily and don’t reflect light as well. Synthetic ice panels are a separate category entirely, covered further down, and skip the water-and-freeze process altogether.
Grading, Base Work, and Drainage Before the Freeze
The best time to fix a rink’s foundation is in the fall, weeks before the first flood, not the weekend you planned to start skating.
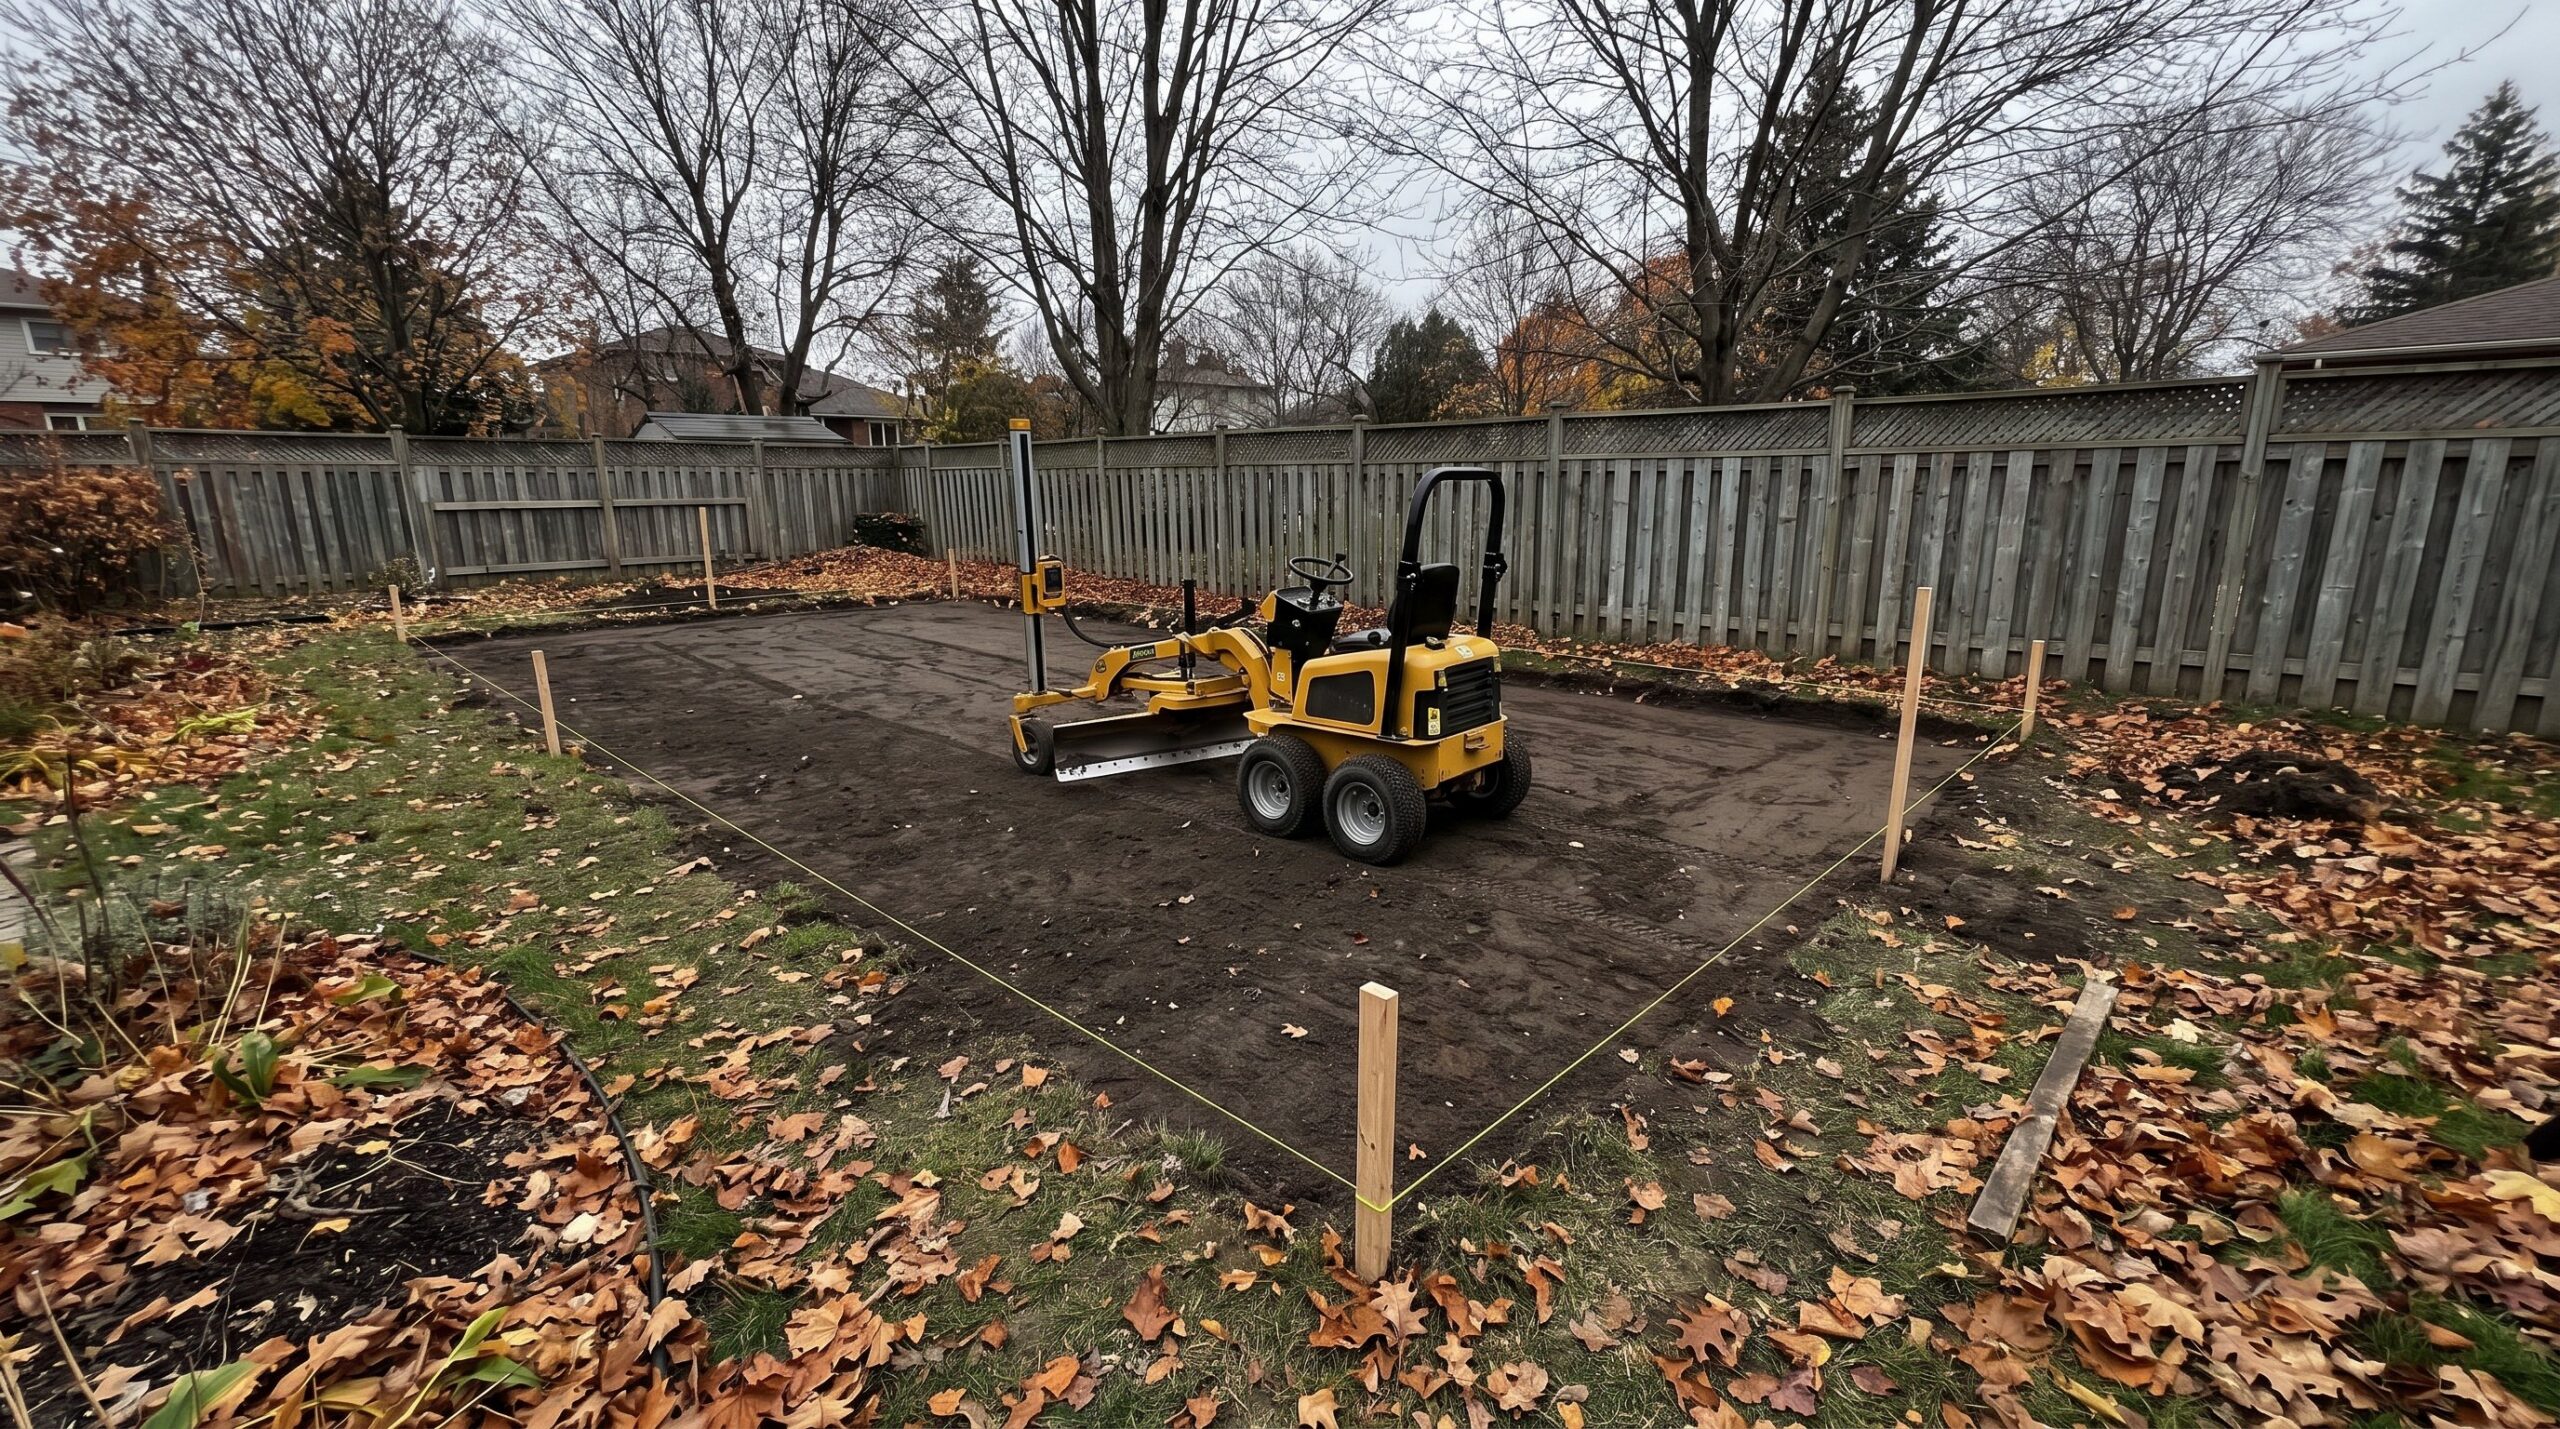
Laser-Guided Grading for a Level Base
Laser-guided grading sets a target slope across the rink footprint to a tight tolerance, the same process used to prepare a base for a new tennis or sports court. For a rink, that usually means grading to a very slight, even fall toward one collection point rather than leaving multiple low spots scattered across the pad. Learn more about what laser-guided grading involves and how it benefits an outdoor surface before deciding whether your yard needs it.
What Happens if the Base Isn’t Level
An unlevel base doesn’t just produce uneven ice thickness. It also means boards under more pressure on the deep side, water finding gaps at low corners, and a rink that needs re-shimming or partial rebuilding every fall as the ground shifts slightly through freeze-thaw cycles. Accurate grading matters for exactly the same reasons on a sports court, and the failure modes look almost identical.
Off-Season Drainage Planning
Plan where the meltwater goes before you build, not after the first thaw. Directing runoff toward an existing garden bed, a dry well, or a swale that carries it away from the foundation and any neighbouring property keeps spring cleanup from turning into a drainage complaint. The same drainage planning that protects a sports court’s base protects your lawn and foundation from a season of rink meltwater.
Building on an Existing Sport Court Base
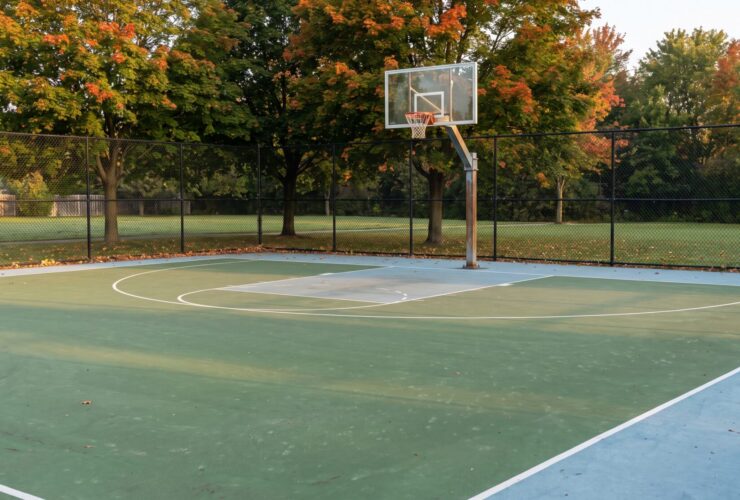
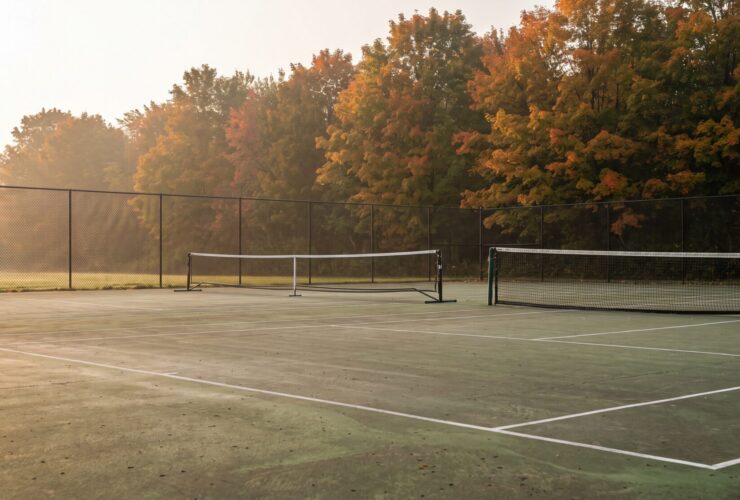
Homeowners who already have a paved backyard basketball pad, a hard tennis court, or a multi-sport court have a real advantage here. A properly graded, hard, level surface is close to ideal for a winter rink liner, since the base work is already done. Some clients extend a court’s usefulness into winter this way, running tennis or pickleball through the warmer months and flooding a rink over part or all of the same pad once temperatures drop.
The tradeoffs are worth thinking through before committing to this approach: standing water and repeated freeze-thaw cycles can stress an acrylic-coated surface over time if it isn’t designed with that use in mind, and a liner still needs boards or a frame around the court’s edge to hold water in. It’s a conversation worth having with whoever built or maintains the court before assuming the pad can double as a rink base without any changes.
Ontario Climate: Freeze-Thaw Cycles and Flooding Timing
When to Start Flooding
Southern Ontario’s early winter is rarely a straight line of cold. A run of days at or below freezing overnight, with daytime highs staying below zero, is what actually builds a solid base layer of ice rather than a slushy one that refreezes unevenly. Environment and Climate Change Canada’s climate normals are a useful reference for how consistently a given area holds sustained sub-zero temperatures through December and January, which varies more across the province than people expect.
Freeze-Thaw Damage Risks
A mid-winter thaw is the single biggest threat to a backyard rink’s ice quality and its base. Repeated freeze-thaw cycling is also exactly what damages unprotected pavement and hard court surfaces over time, which is one more reason a graded, well-draining base matters: it handles the cycling without shifting, instead of adding movement on top of whatever the ice is already doing. If you’re already thinking about how cold weather affects outdoor surfaces, our winter maintenance guide for tennis courts covers a lot of the same freeze-thaw logic.
Construction and Setup Phases
| Phase | What Happens | Best Timing in Ontario |
|---|---|---|
| Site selection and utility check | Walk the yard, call before you dig, mark obstacles | Early-to-mid fall |
| Grading and drainage prep | Level the pad, direct runoff away from structures | While ground is still workable, before first hard frost |
| Frame or board assembly | Build the perimeter, brace corners and low sides | Late fall |
| Liner installation | Lay liner with slack, secure edges | Just before first flood |
| Initial flood and base layer | Shallow layer, allow to freeze solid before adding more | First sustained sub-zero stretch |
| Building up ice depth | Repeated thin layers rather than one deep flood | Over 1 to 2 weeks of consistent cold |
| In-season maintenance | Scraping, resurfacing, snow clearing | Throughout winter |
| Teardown and drainage | Controlled melt or drain, remove boards and liner | Early spring |
Best Time of Year to Build in Ontario
Site work, grading, and board assembly all go faster and hold up better when they happen while the ground is still soft enough to work but before the first hard frost, generally through September and October. That timing lines up closely with the best time of year to build a sports court in Ontario, since both projects depend on workable soil and enough lead time before winter weather sets in. Waiting until the first cold snap to start digging and levelling means racing the ground freeze, which rarely ends well for a base that’s supposed to last multiple seasons.
Permits, Zoning, and Accessibility Considerations in Ontario
Permits and Municipal Review
Most Ontario municipalities treat a seasonal, non-commercial backyard rink as a temporary structure rather than a permanent build, so it typically doesn’t trigger the same permit process as a permanent court or structure. The City of Toronto’s guidance on backyard ice rinks confirms they’re allowed for personal use, though rules vary between municipalities and it’s worth a quick call to your local building department, especially if the rink includes taller permanent boards, lighting, or sits close to a property line. This is the same first step we’d recommend before any residential court or surface installation, and the same general question we walk through in our guide to permits for backyard sports courts.
Accessibility
If the rink needs to accommodate a family member with mobility limitations, plan a ramped or level access point at one board section rather than requiring a step over the frame, and keep the surrounding walkway cleared and salted separately from the ice itself so it doesn’t become a second hazard.
Backyard Ice Rink vs. Synthetic Ice: Which Fits Your Property
| Factor | Flooded Natural Ice | Synthetic Ice Panels |
|---|---|---|
| Season of use | Cold months only | Year-round |
| Weather dependency | Needs sustained sub-zero stretches | None |
| Skate feel | Closest to arena ice when well maintained | Slightly higher glide resistance, improves with wax |
| Base requirement | Level, well-drained pad | Flat, hard surface such as a paved pad |
| Off-season storage | Boards and liner stored after teardown | Panels can stay down or be stacked |
What Drives the Cost of a Backyard Ice Rink
Rink costs vary widely based on a handful of factors, and we’d rather walk through what drives the number than quote a figure that won’t match your yard. Size is the biggest factor, since board length and liner area both scale directly with footprint. Board material matters too. Basic lumber costs less upfront but needs more attention year to year, while engineered rink board kits or a permanent low retaining structure cost more initially and hold up with less annual rebuilding.
Site conditions change the number as much as materials do. A flat, well-draining yard needs little more than layout and assembly. A sloped yard, poor drainage, or a rink that has to route around trees, a deck, or utility lines adds grading and drainage work that a flat lot simply doesn’t need. Whether you’re building from scratch each fall or maintaining a permanent base that gets reused every winter also shifts where the cost sits, upfront versus spread across several seasons. That tradeoff is the same one we walk clients through in the cost-benefit case for professional maintenance on any outdoor surface.
Maintenance Schedule for a Shared-Use Rink
| Task | Frequency | Why It Matters |
|---|---|---|
| Clear snow before it packs down | After every snowfall | Packed snow insulates the ice and traps moisture underneath |
| Scrape loose ice shavings | Weekly during heavy use | Shavings absorb sunlight and create uneven melt spots |
| Light resurfacing flood | Every few days in cold stretches | Fills skate ruts and rebuilds a smooth top layer |
| Check board bracing | Every 1 to 2 weeks | Water pressure and ground movement can loosen stakes over the season |
| Inspect for cracks or soft spots | Before each use | Catches thin ice before it becomes a safety issue |
Common Mistakes and Warning Signs
Building on unlevel ground without correcting the slope first tops the list, followed closely by flooding too fast on the first attempt, which cracks the base layer before it has a chance to set properly. Skipping a plan for where meltwater goes is another one we see every spring, usually as a call about a soggy patch of lawn that won’t dry out. Weak corner bracing is the quiet failure mode: boards look fine for weeks, then blow out under water pressure during the first serious flood of the season. And an undersized footprint that seemed fine on paper often turns out too cramped once actual games start, especially with more than two or three players on the ice at once.
New Rink vs. Repurposing an Existing Court
Building a rink from bare lawn gives you full control over placement and size but means starting the grading and drainage work from scratch. Repurposing an existing hard court or paved pad skips most of that groundwork since the base is already flat and stable, though it does mean designing boards and a liner system that work with the court’s existing surface and drainage pattern rather than against it. Either path can produce a good rink. The right choice usually comes down to whether you already have a suitable paved surface sitting unused for four or five months of the year.
Planning Checklist Before You Build
| Step | Check |
|---|---|
| 1 | Confirm the footprint clears trees, utilities, and property lines |
| 2 | Call before you dig to locate buried lines |
| 3 | Check municipal rules on temporary structures near property lines |
| 4 | Measure existing yard slope before choosing board height |
| 5 | Decide where meltwater will drain in spring |
| 6 | Choose board material and liner type based on rink size |
| 7 | Schedule grading and assembly before the first hard frost |
| 8 | Plan a maintenance routine before the first flood, not after |
Frequently Asked Questions
What is backyard ice rink construction?
Backyard ice rink construction is the process of preparing a level, well-drained site, building a perimeter frame or boards, laying a liner, and building up ice in layers to create a skating surface on residential property.
How much space do I need for a backyard ice rink?
A small pleasure rink fits in roughly 16 by 30 feet, while a mid-size family rink for casual games needs closer to 20 by 40 feet. Larger rinks for real shinny games often run 30 by 60 feet or more.
Do I need a level yard to build a rink?
You don’t need a perfectly flat yard, but any slope has to be corrected with grading or shimmed boards, since even a small grade across the footprint creates uneven water depth and ice thickness.
When should I start building a backyard rink in Ontario?
Site prep, grading, and board assembly go best in September and October while the ground is still workable. The actual flooding has to wait for a sustained stretch of sub-zero overnight and daytime temperatures.
How thick should backyard rink ice be?
Most backyard rinks build up to roughly 3 to 4 inches of solid ice through repeated thin flooding layers, rather than one deep flood, which freezes unevenly and cracks more easily.
What boards should I use for a backyard rink?
Common choices include dimensional lumber such as 2×10 or 2×12 boards, plastic composite panels, or purpose-built rink board kits, with taller boards holding more water but requiring stronger bracing.
Can I build a rink on top of an existing sport court?
Yes, a level paved pad such as a tennis or basketball court can work as a rink base, though it still needs boards or a frame around the edge and some thought given to how repeated freeze-thaw cycling affects the court’s surface over time.
Do I need a permit to build a backyard ice rink in Ontario?
Most municipalities treat a seasonal, non-commercial backyard rink as a temporary structure that doesn’t require a building permit, but rules vary, so it’s worth confirming with your local municipality before building.
How do freeze-thaw cycles affect a backyard rink?
A mid-winter thaw softens or partially melts the ice surface, and repeated freeze-thaw cycling can also stress the base underneath, which is why a well-graded, well-draining site holds up better through an inconsistent Ontario winter.
What’s the difference between a backyard rink and synthetic ice?
A backyard rink uses flooded water that freezes into real ice and only works in cold weather, while synthetic ice panels are a solid polymer surface that can be skated on year-round without any freezing required.
How often does backyard rink ice need to be resurfaced?
A light resurfacing flood every few days during heavy use fills in skate ruts and rebuilds a smooth surface, similar in principle to how an arena Zamboni pass works, just done by hand with a hose.
What causes cracked ice on a backyard rink?
Cracking usually comes from flooding too fast before the base layer sets, an unlevel base putting uneven stress on the ice, or a sharp temperature swing that stresses the surface faster than it can adjust.
How do I stop water from pooling in my yard after the rink comes down?
Plan drainage before you build by directing meltwater toward a spot that can absorb or channel it, rather than letting it sit against the foundation or in a low spot in the lawn, which is the same principle used in grading a sports court base.
Can a backyard rink damage my lawn?
A rink sitting on grass for several months can leave the turf compacted, pale, or slow to green up in spring, especially where meltwater sits longest, though most lawns recover fully within a few weeks of warmer weather.
What size rink boards do I need for hockey versus skating?
Taller boards, generally 8 to 12 inches, work better for hockey since they contain pucks and hold deeper water, while a skating-only rink can get by with shorter boards in the 4 to 6 inch range.
The same graded-base approach works well for a backyard volleyball court during the warmer months, before the same yard gets flooded for winter.
nn
Some properties take the opposite approach, building a hard, coated pad that serves as a roller hockey court through spring, summer, and fall, then doubles as the base for the winter rink once temperatures drop.
If you’re weighing whether your yard needs grading before the first flood, whether an existing court could double as a rink base, or how a sloped lot changes the plan, get in touch with CrowAll Surface Contractors to talk through your site conditions, or read more about why Ontario property owners choose us for grading, drainage, and outdoor surface work, or learn more about the company behind the work. You can also browse our full range of sport and landscape services if the rink is one piece of a bigger backyard plan.
Editor’s Note: Images Used in This Article
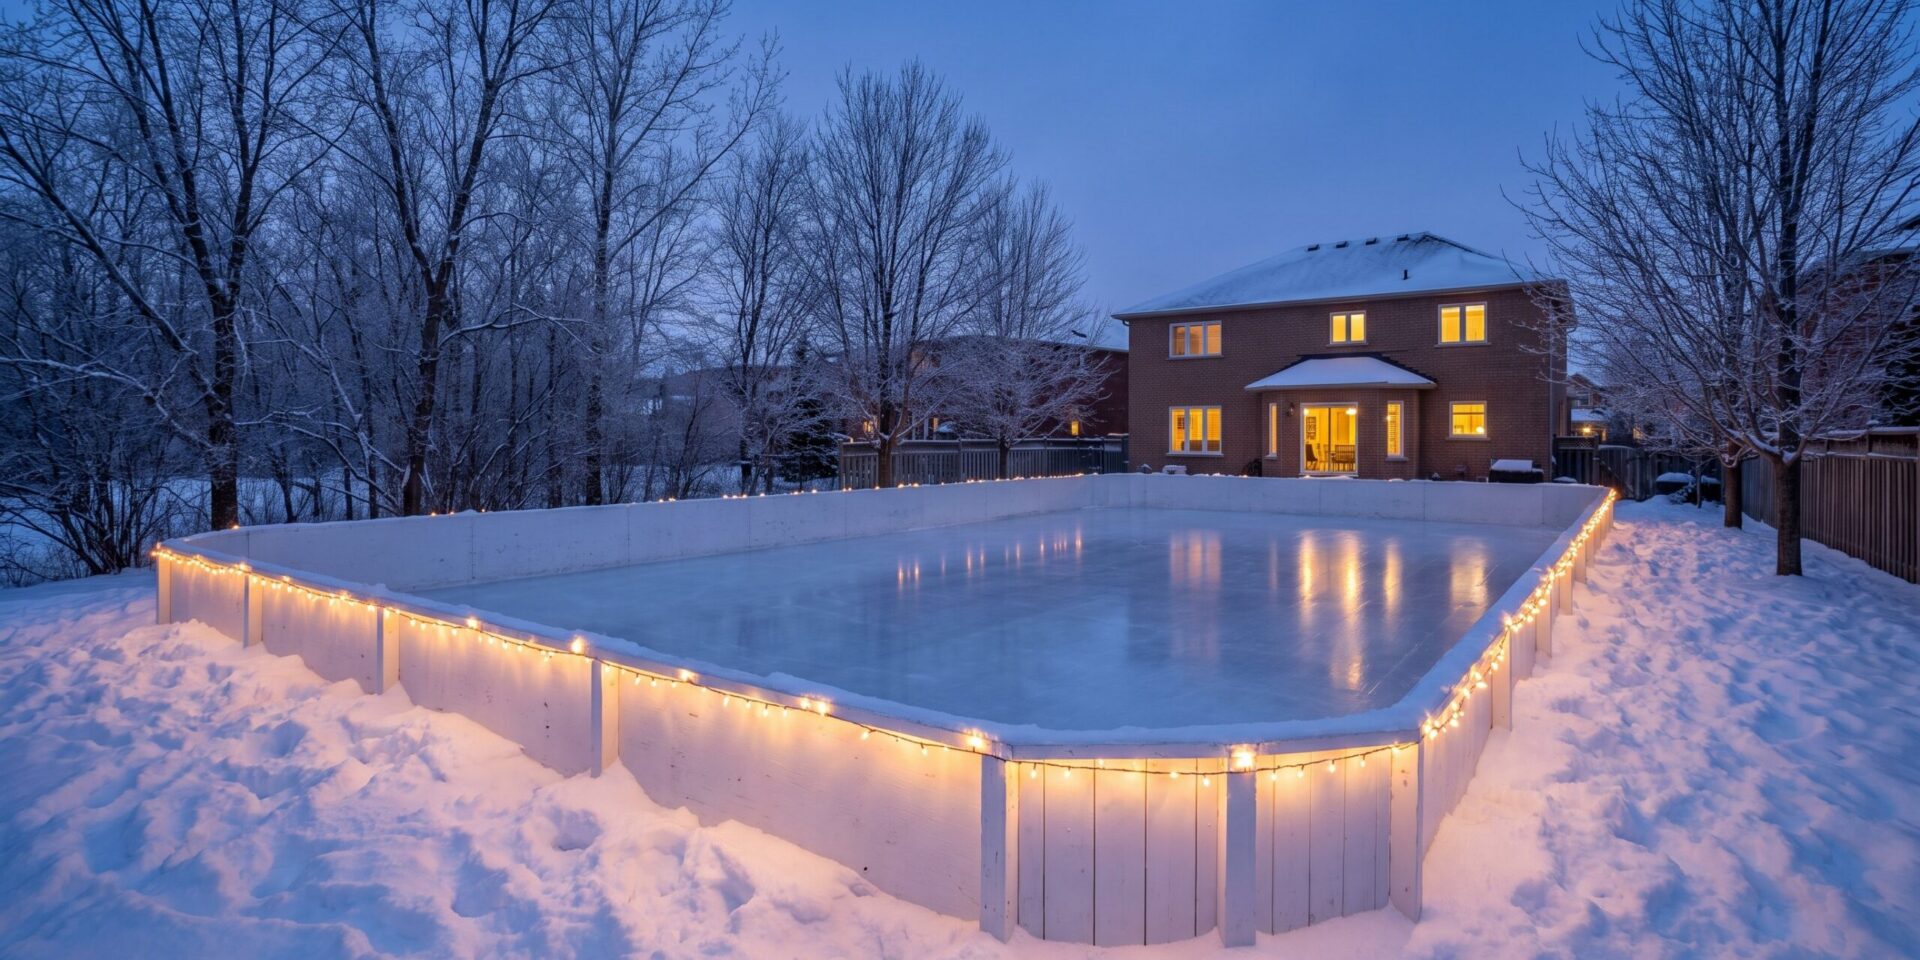
- backyard-ice-rink-ontario-winter-dusk-scaled.jpg (2560×1429, JPG) – featured/hero image. Title: “Backyard Ice Rink at Dusk in an Ontario Winter Yard.” ALT: “Professionally built backyard ice rink with white boards and reflective ice in a snowy Ontario backyard at dusk.” Caption: “A level base and even water depth are what separate a rink that lasts the season from one that doesn’t.” Prompt used: Photorealistic wide-angle photograph of a professionally built backyard ice rink in a suburban Ontario, Canada backyard during winter, white perimeter boards, reflective ice, string lights, snow-covered ground, bare deciduous trees, house visible in background, early evening blue-hour lighting, no people, no logos, no text, no watermarks, realistic photography.
- laser-guided-grading-backyard-ice-rink-base-scaled.jpg (2560×1429, JPG) – inline image. Title: “Laser-Guided Grading for a Backyard Ice Rink Base.” ALT: “Laser-guided grading tool leveling a residential backyard base for a winter ice rink.” Caption: “A level base, set before the ground freezes, is what keeps water depth even across the whole rink.” Prompt used: Photorealistic ground-level photograph of a laser-guided grading tool leveling a section of lawn in a residential Ontario backyard in late autumn, preparing a flat rectangular base for a winter ice rink, wooden stakes and string lines marking the perimeter, fallen leaves and bare trees, overcast daytime lighting, no people, no text, no logos, no watermarks, realistic construction photography.
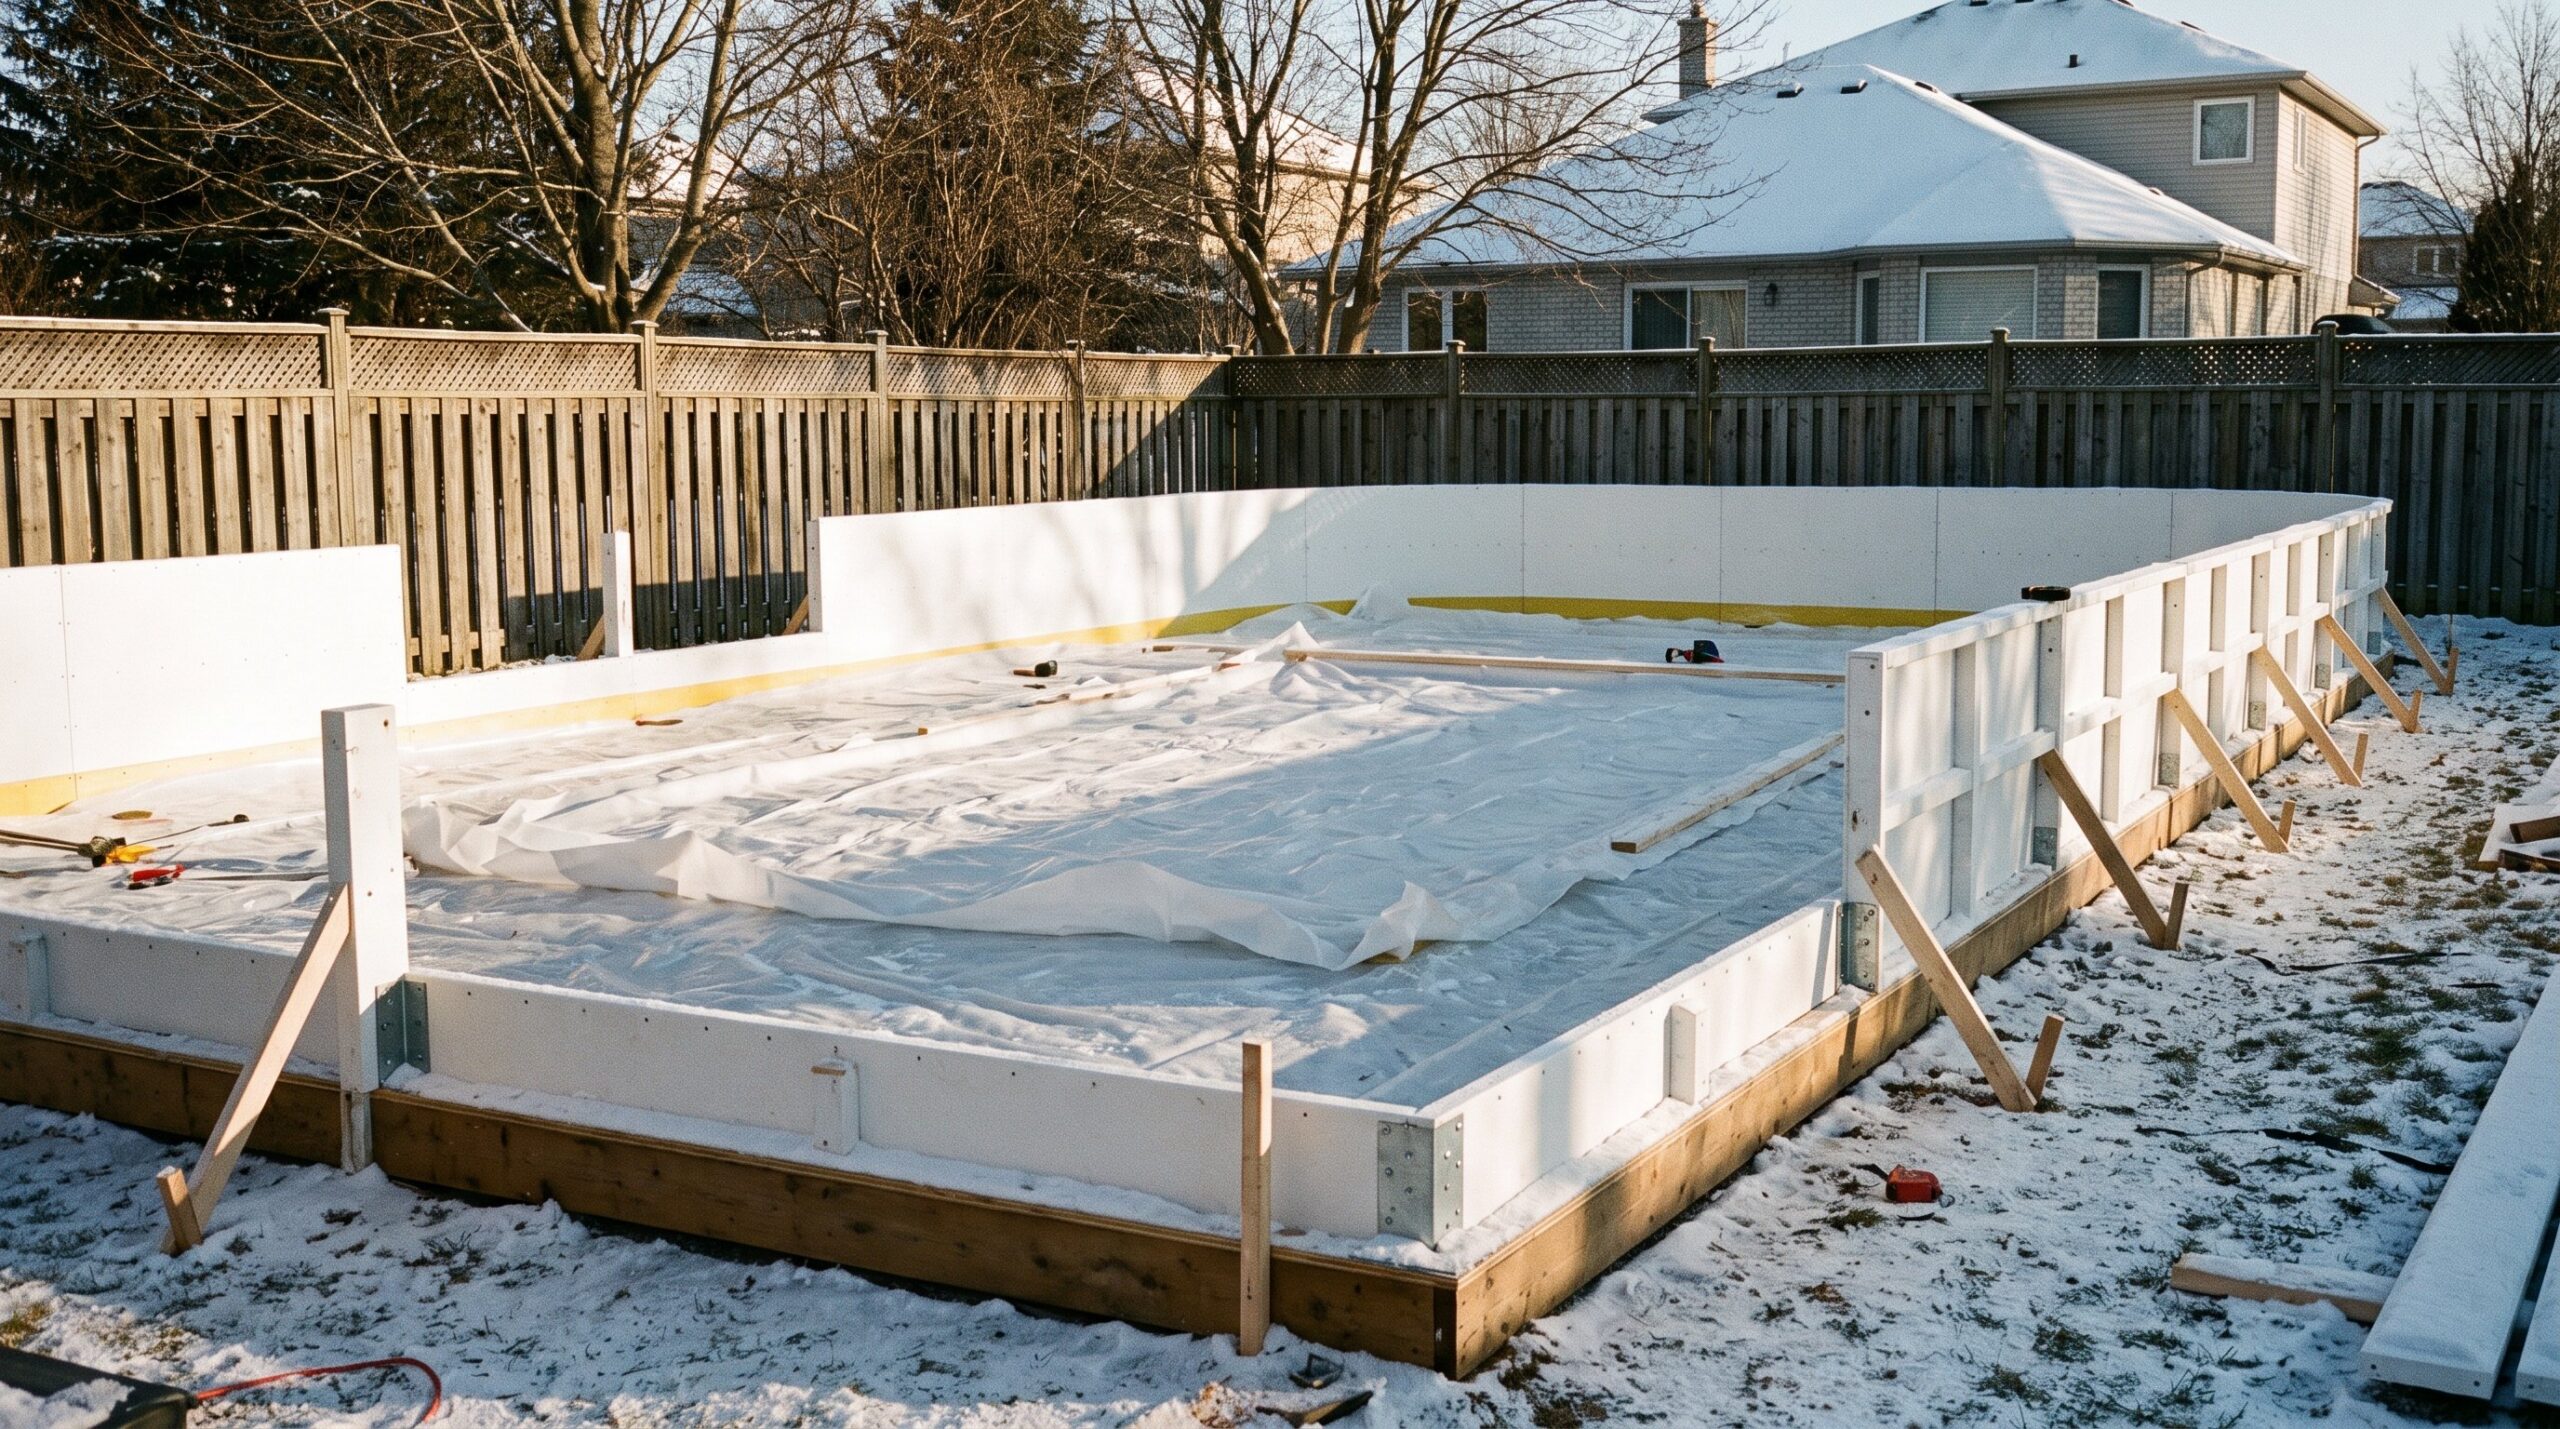
- rink-boards-liner-assembly-ontario-backyard-scaled.jpg (2560×1429, JPG) – inline image. Title: “Rink Boards and Liner Assembly Before Flooding.” ALT: “White modular rink boards and liner assembled around a backyard ice rink base in Ontario.” Caption: “Boards go up once the base is level and the liner has been checked for tears or gaps.” Prompt used: Photorealistic photograph of white modular rink boards partially assembled around a rectangular backyard ice rink base in Ontario, Canada, white liner tarp laid inside the frame, corner brackets and support stakes visible, light dusting of snow, cold late-afternoon daylight, wide landscape composition, no people, no text, no logos, no watermarks, realistic outdoor construction photography.
AI-generated photography should not be relied on for precise technical measurements. A human designer should build the following before this article is used for client-facing sales collateral: a scaled rink-size comparison diagram, a base cross-section showing grading and drainage direction, a build-sequence timeline graphic, and a printable planning checklist matching Table 6.