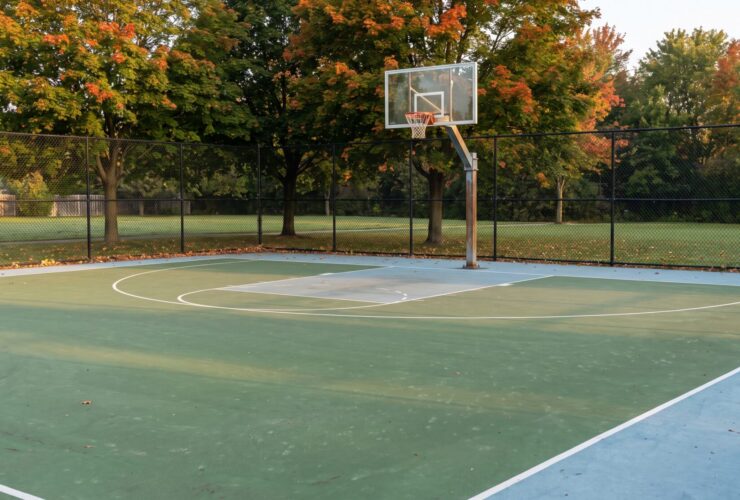
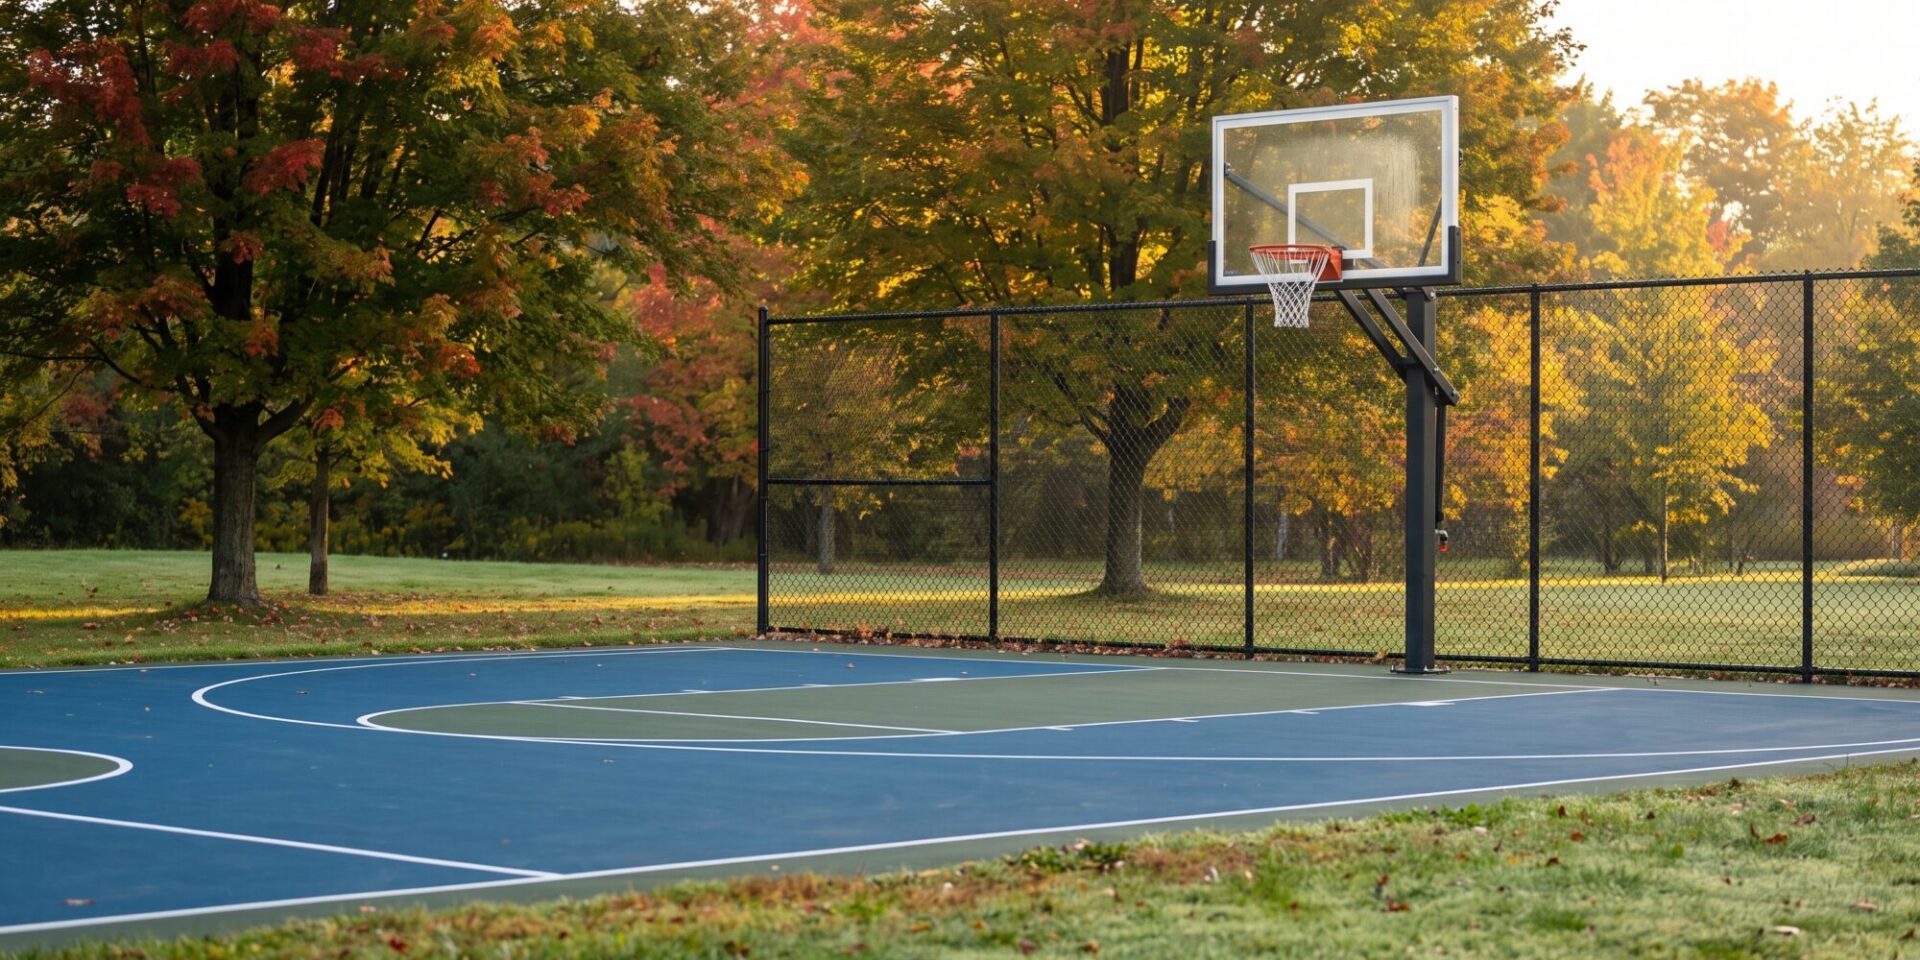
Backyard Basketball Court Construction in Ontario: Getting the Size, Base and Surface Right
A backyard basketball court usually starts with a hoop on the garage and a driveway that has seen better days. At some point the family wants more room, a surface with a true bounce, and a layout that works for a real game. That is when the questions change from where to put a hoop to what has to be built underneath it so the court still plays flat after a few Ontario winters.
This guide walks through backyard basketball court construction the way a court contractor would explain it to a homeowner: how much space you need, where the court should sit, which permits and utility locates come first, the base, the drainage, the pad, the surface, the hoops, the fencing and the lighting. It also covers cost drivers, timing and the mistakes that cause most callbacks. If you want the short overview of a residential project first, our page on backyard basketball court installation covers the services, and the post on what a home basketball court costs goes deeper on budgets.
What Backyard Basketball Court Construction Involves
Backyard basketball court construction is the process of preparing a level, well-drained site, building a compacted base, placing an asphalt or concrete pad (or setting a modular tile system over a suitable base), adding a playing surface, and then installing lines, a hoop system, fencing and lighting. Most of the cost and most of the risk sit in the ground work. The paint and the hoop are the part people see, but the base decides whether the court is still flat in year five.
The Short Version of the Build Sequence
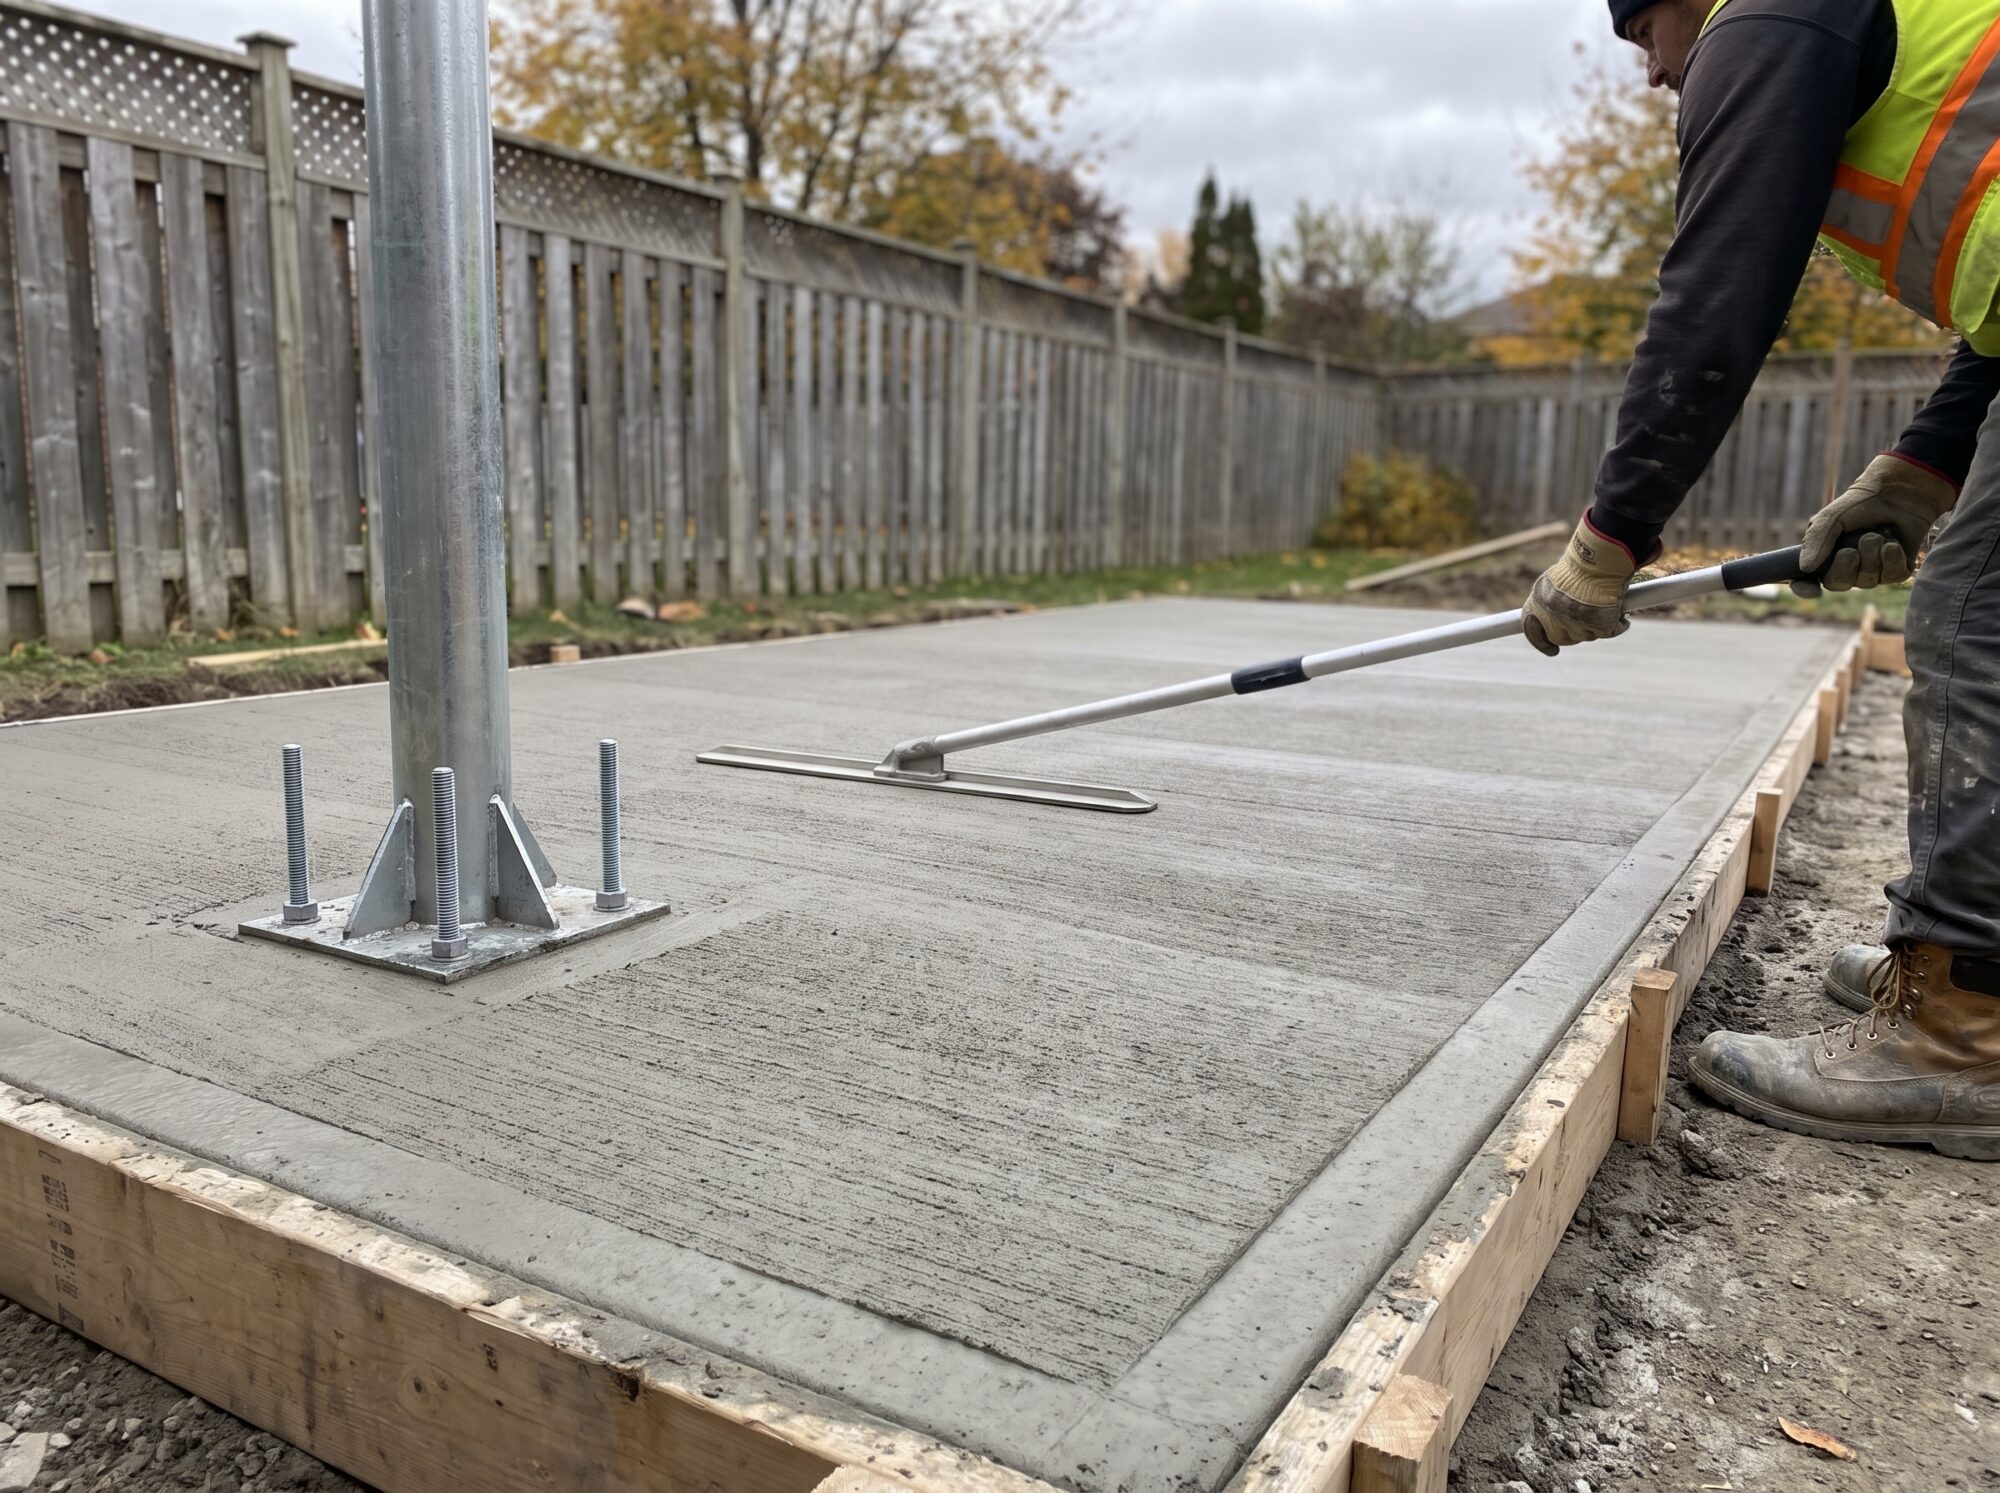
A new outdoor court moves through the same stages whatever the size: site assessment, permits and locates, excavation, subgrade preparation, granular base, grading and drainage, hoop footings and fence posts, pad, curing, surfacing, line marking, then hoops, fencing and lighting. Footings for hoop poles, fence posts and light poles are far easier to build into the base than to cut in later, so a good contractor asks about all three before the first shovel goes in. Our post on the construction process for a backyard sports court shows how those stages fit together on a typical residential job.
Who This Applies To
Homeowners with a private court are the main audience, but the same construction logic applies to schools, community centres, condo and townhouse communities, and clubs adding an outdoor court. What changes is scale, the approvals route, lighting, accessibility needs and how many courts share a fence line. A single backyard half court and a multi-court park facility differ mostly in drainage planning and paperwork.
How Big Should a Backyard Basketball Court Be?
Size drives everything else. It sets how much soil has to come out, how much stone goes in, how much pad needs paving and how long the fence runs. Before you fall in love with a layout, measure the space you actually have, including the room around the court that players need to run out of bounds and to chase loose balls.
A full-size court is large. FIBA’s official rules set the playing court at 28 metres by 15 metres, measured from the inner edge of the boundary line, and call for a floor of at least 32 metres by 19 metres including the surrounding margin. That works out to roughly 92 by 49 feet for the playing area and about 105 by 62 feet for the floor. You can read the full text in the FIBA Official Basketball Rules. Almost no residential lot has that much space, which is why most backyard projects are half courts or compact custom layouts. Our dedicated guide to basketball court dimensions compares NBA, FIBA, high school and half-court sizes.
| Item | Figure | Source and Notes |
|---|---|---|
| Full playing court (FIBA) | 28 m by 15 m (about 92 ft by 49 ft) | FIBA Official Basketball Rules 2026, measured from the inner edge of the boundary line |
| Floor including margin (FIBA) | At least 32 m by 19 m (about 105 ft by 62 ft) | FIBA Official Basketball Rules 2026 |
| Full court, residential planning figure | About 50 ft by 94 ft | CrowAll backyard basketball court installation page |
| Half court, residential planning figure | At least 30 ft by 50 ft | CrowAll backyard basketball court installation page |
| Rim height | 10 ft above the floor | NBA Rule No. 1 |
| Backboard | 6 ft wide by 3.5 ft tall (NBA) | NBA Rule No. 1; residential and youth systems often use smaller boards |
| Free-throw line | 15 ft from the face of the backboard (NBA); 5.80 m from the inner edge of the endline (FIBA) | NBA Rule No. 1; FIBA Article 2 |
| Three-point line | 23 ft 9 in arc (NBA); 6.75 m radius (FIBA) | NBA Rule No. 1; FIBA Article 2 |
| Line width | 5 cm (about 2 in) | FIBA Article 2 |
The numbers above are official playing standards for the game. Your backyard court does not have to match them, and for family use it usually should not. What matters is choosing a layout on purpose and knowing what you are giving up when you shrink it.
Full Court, Half Court or Something in Between
A half court is the sweet spot for most households. One hoop, a full key and room for a three-point arc fit into a pad of about 30 by 50 feet, which is the minimum CrowAll suggests for a half court. A full court needs a pad close to 50 by 94 feet before you add margins, fencing and any seating, so it tends to be a project for large rural and estate properties, schools and clubs.
Compact layouts work too. Many owners build a shorter court with a single hoop, a shooting key and a reduced three-point line, then use the extra space for a second use such as pickleball or a walking path. If you want two sports from one pad, read our guide to multi-sport court construction in Ontario before you settle on a footprint, since the line plan and the net or hoop locations need to be set at the design stage.
| Layout | Pad Planning Size | Best Suited To | Main Trade-off |
|---|---|---|---|
| Compact single-hoop pad | Varies with the lot; smaller than a half court | Driveway-style shooting, small yards | Limited key and no true three-point arc |
| Half court | At least 30 ft by 50 ft | Family play, one-on-one, two-on-two | Needs a flat footprint plus fence margin |
| Full court | About 50 ft by 94 ft | Large properties, schools, clubs | Largest excavation, base, fence and drainage scope |
| Multi-sport pad | Set by the largest sport you include | Households that also play pickleball or tennis | Line plan and hoop and net positions must be designed together |
Hoop Placement and Orientation
Put the hoop where players will not be shooting into the low sun. A hoop at the north or south end of a long court avoids the worst of the glare in the morning and evening, and it keeps the main play area in the open. Think about where stray balls will go as well. Hoops that face a neighbour’s window or a driveway need a backstop or taller fence behind the baseline. Pole positions also decide where the footing goes, so settle the layout before any concrete is poured.
Choosing the Right Spot on Your Property
Sun, Wind and Shade
Trees give welcome shade in July and drop leaves, seeds and sap on the court all autumn. A court in permanent shade holds moisture, grows moss and takes longer to dry after rain or melting snow. A court in full sun heats up in summer and can feel hard on the knees by mid-afternoon. For most Ontario sites the best compromise is open sky above the court with some trees to the sides at a respectful distance.
Drainage, Soil and Frost
Walk the site after a hard rain. Where water collects and where it leaves tells you more than a drawing will. Heavy clay holds water and moves with frost, sandy soils drain better, and fill that was never compacted will settle. Ontario sits in a freeze-thaw climate, so water that reaches the base and freezes can heave the pad. Our posts on accurate grading and sports court drainage and drainage in sports surface construction explain why this one detail causes more failures than any other. The court needs a planned path for the water to leave the pad, and a place for it to go that is not your neighbour’s yard.
Access, Utilities and Neighbours
Excavators and stone trucks need a path to the site. A narrow side gate and a finished backyard can mean hand work, smaller machines and a longer schedule. Look up as well as down. Overhead lines affect hoop pole height and equipment access, and buried gas, water, electrical and communication lines affect where you can dig. A bouncing basketball is also louder than most people expect, particularly on a hard pad with a metal pole and a fast rim. Locate the court away from bedroom windows where you can, and read our guidance on pickleball court construction if you are weighing a multi-use layout, since the same neighbour and sound issues apply.
Permits, Locates and Approvals in Ontario
Rules vary by municipality. Some towns treat a sports court as an accessory structure or hard surface and set limits on lot coverage, setbacks, fence height, drainage and lighting. Others have little to say about a plain court but have a lot to say about the fence. Check with your municipality before you sign a contract, and see our post on permits for sports courts for the questions to ask. If your property sits near a ravine, creek or other regulated feature, the conservation authority for your area may also need to weigh in.
Utility locates are different. They are a legal step, not a courtesy. Ontario Dig Authority states that you must submit a locate request at least 5 business days before you dig, that locates are required for any project that breaks ground no matter the size or depth, and that you must request a new locate if the project changes. The service is free, and utility companies send locators to mark buried lines. Read the details on the Ontario Dig Authority website. Your contractor will normally handle this, but confirm who is responsible before work is scheduled so that the date is not a surprise.
Choosing the Surface: Asphalt, Concrete, Modular Tile or Acrylic
The surface decision shapes the base design, the budget and the maintenance for the life of the court. CrowAll’s backyard basketball court page lists acrylic surface systems, modular polypropylene tiles, rubber flooring, hardwood for indoor courts and asphalt as options. For an outdoor Ontario court the practical choice is usually between a coated asphalt pad, a coated concrete slab and a modular tile system. Our longer comparison on choosing the right surface for your basketball court and the overview of materials used in sports court construction cover the wider list.
Asphalt With an Acrylic Coating
Asphalt is the traditional court base and often the most economical. It is placed hot in layers, rolled to a smooth finish and then sealed and coated with acrylic. It tolerates minor movement better than concrete because it is flexible, which suits our climate, but it can develop cracks as the pad ages and as frost works on the base. Crack filling and recoating are routine. Our post on acrylic sports court coatings explains how the coating protects the pad and what the colours and textures do for play, and our guide to sport court colour options helps you plan the look.
Concrete With an Acrylic Coating
A reinforced concrete slab produces a very hard, flat, long-lived pad. It needs a correct base, proper joints and a controlled cure before any coating goes on. Concrete cracks if the base moves, and a crack in a slab does not close up the way a hairline in asphalt sometimes seems to. Joint layout, reinforcement and slab thickness are design decisions your contractor or engineer should specify for your soils. A hard pad is also less forgiving underfoot than a cushioned system, which matters for households that play often.
Modular Polypropylene Tiles
Interlocking polypropylene tiles go over a stable, well-drained base of asphalt, concrete or compacted stone. They drain through the tile, give a little underfoot, can be installed quickly and can be taken up and relaid. CrowAll notes that their interlocking design allows quick water runoff. The tile is only as good as the base it sits on, though, and tile joints can open or lift if the base moves. Tiles are also a good option when you want a court that can be reconfigured, such as a multi-sport layout.
Acrylic Cushion Systems and Other Surfaces
Acrylic systems can include cushion layers under the colour coats for a softer feel. Rubber surfacing and hardwood belong mostly to indoor or specialty courts. If you plan an indoor court, the construction logic is different since it involves a building, a sprung or specialized floor and ceiling height, so treat that as a separate project.
| Surface | How It Is Built | Strengths | Things to Watch |
|---|---|---|---|
| Asphalt with acrylic coating | Compacted base, hot-mix asphalt pad, then sealer and colour coats | Common, flexible, good value when installed correctly | Cracking over time, recoat cycle, needs a proper cure before coating |
| Concrete with acrylic coating | Compacted base, reinforced slab with joints, cure, then coating | Hard, flat and durable surface | Cracks if the base moves, joints must be planned, harder underfoot |
| Modular polypropylene tile | Interlocking tiles laid over a stable base | Drains through the tile, quick install, can be relaid | Depends entirely on the base, joints can lift, feel varies by product |
| Acrylic cushion system | Colour coats over a cushion layer on a cured pad | Softer feel, wide colour range | Still needs a sound pad, costs more than a plain coating |
Step-by-Step: How a Backyard Basketball Court Gets Built
The sequence below reflects common construction practice for outdoor courts. Exact depths, slopes and materials are site-specific design decisions, and your contractor or engineer should confirm them for your soils, climate and approvals. Where published guidance gives a figure, the source is named.
Step 1: Site Assessment and Layout
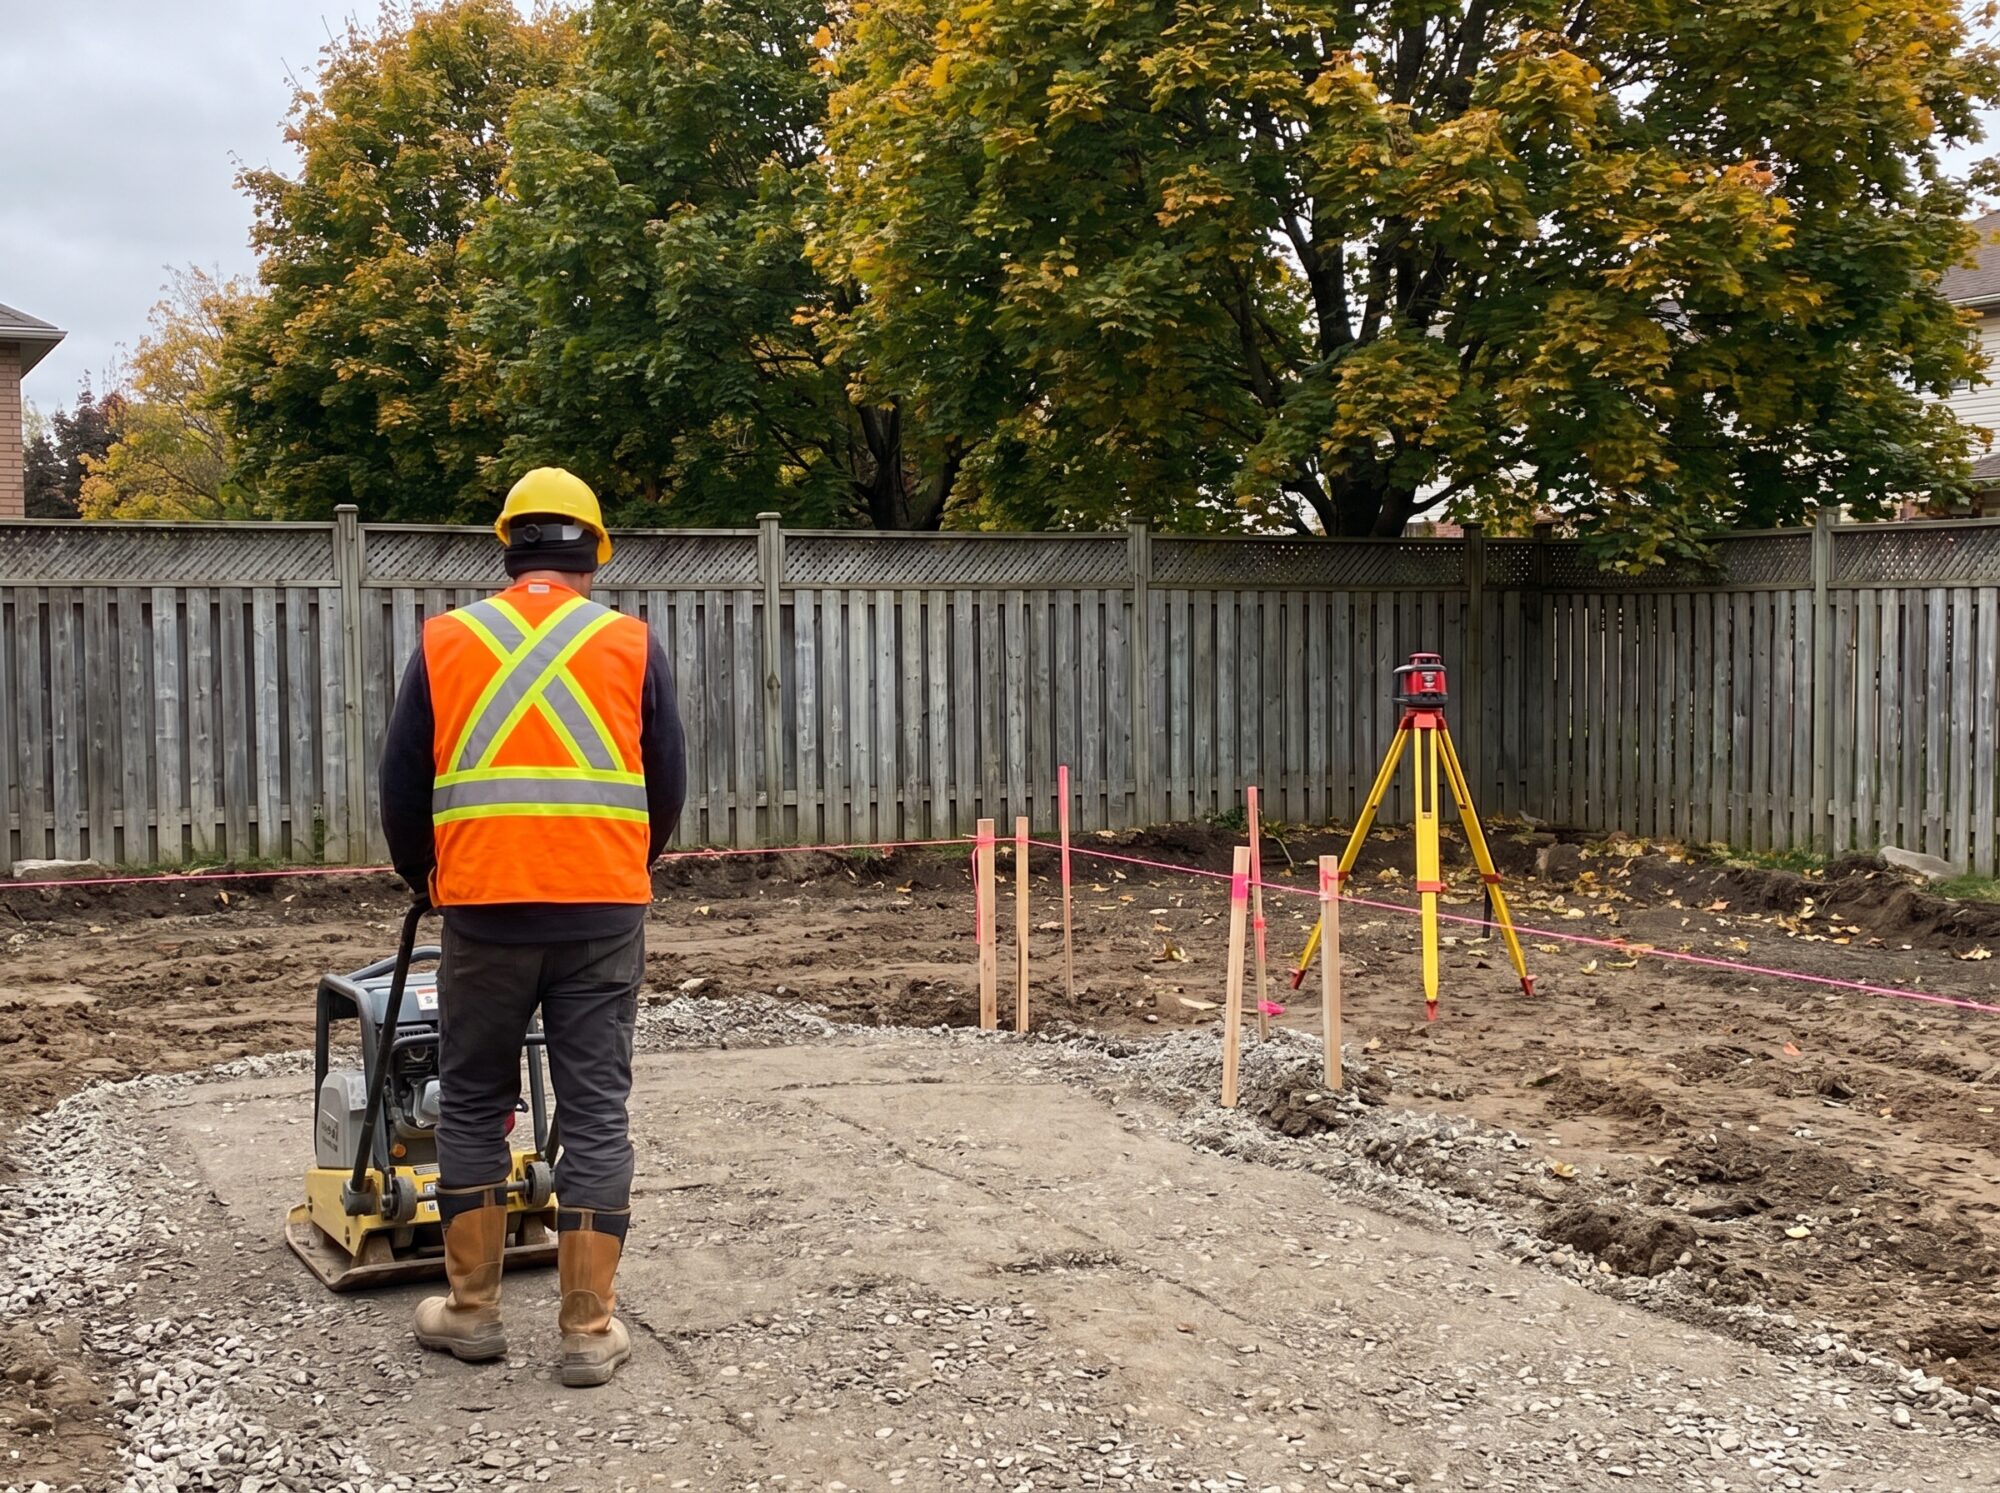
A good project starts with a site visit. The contractor looks at grade, soils, trees, access, existing structures and drainage, then lays out the court with stakes and string or paint. This is the time to confirm hoop locations, fence lines, light pole positions, the direction water will flow and where it will exit. Photos of the yard, a survey if you have one, and a rough sketch of what you want help a great deal.
Step 2: Clearing and Excavation
Topsoil, roots and organic material come out, since they decompose and settle. The excavation goes to the depth needed for the base plus the pad, with allowance for slope. Soil removal is often the biggest single trucking cost, so where the spoil goes matters. If the soil is soft or wet, the excavation may go deeper to reach firm subgrade.
Step 3: Subgrade Preparation and Geotextile
The exposed subgrade is shaped, compacted and proof-rolled to find soft spots. Many specifications then add a geotextile fabric to separate the native soil from the stone so the base does not slowly sink into it. Pickleball Manitoba’s court construction guidance, written for a frost climate, says the excavation should be covered with geotextile cloth. Basketball pads face the same ground and the same frost, so the principle carries over.
Step 4: The Compacted Granular Base
The base is the foundation of the court. It carries load, spreads it over the subgrade and gives water somewhere to go. Pickleball Manitoba’s guidance for frost zones lists a minimum of 15 inches of compacted granular material and a recommended depth of 18 inches, and a minimum of 3 inches of sport mix asphalt on top. Those figures are for pickleball courts in a cold climate, not a basketball code, so treat them as a reference range. Residential courts that carry only family use may be designed lighter, and sites with poor soil may need more. Your designer should set the depth for your site. You can read the source on the Pickleball Manitoba court construction page.
The stone goes down in lifts, each compacted, with attention to moisture so it reaches density. A good base is uniform. Variation in thickness or compaction shows up later as dips, ponding and cracks.
Step 5: Grading, Slope and Drainage
A court has to shed water without feeling sloped to the players. Published slope guidance varies by source and by surface system, and many contractors design in the range of roughly one to two percent in a single direction. That is about an inch to two and a half inches of fall across ten feet. The number on your drawing should come from the designer, and it needs to be built accurately. This is where laser control earns its keep. CrowAll’s laser-guided grading service sets elevations with a rotating laser and a receiver on the machine, so the stone and the pad are cut to the intended plane rather than to the operator’s eye. We explain how it works in our post on the laser-guided grading process.
Water also needs a place to go. That might be a swale, a catch basin, a perimeter drain or a daylighted outlet, depending on the lot. Never aim a court’s runoff at a neighbour’s foundation or a window well. Roof downspouts and sump pumps should not discharge onto the pad either.
Step 6: Hoop Footings, Fence Posts and Lighting Bases
Hoop poles on a permanent system are set in concrete footings, and the footing design depends on pole size, backboard size and soil. Frost depth matters here as well. Footings and anchor details come from the hoop manufacturer’s instructions and the project designer, not from a rule of thumb. Fence posts and light pole bases go in at the same stage, along with conduit for any lighting. Putting conduit in before the pad is placed avoids cutting the finished surface later. See our guide to sport court lighting in Ontario for planning pole positions and cable paths.
Step 7: Placing the Pad
For asphalt, the paver places hot mix in one or more lifts, and the crew rolls it to density with attention to joints and edges. Cold weather and cold stone make this harder, which is one reason the season matters. For concrete, forms are set to grade, reinforcement goes in, the slab is placed and finished, and joints are cut or tooled. A broom finish is usual for a surface that will take a coating. For modular tile, the pad underneath is the same asphalt or concrete, or a carefully built compacted stone base.
Step 8: Curing
New asphalt and new concrete both need time before they take a coating. How long depends on the material, the mix, the weather and the coating manufacturer’s instructions, so follow those instead of a generic number. Coating over a pad that has not cured can trap moisture and cause bubbling or peeling. Rushing this step to save a few days is one of the surest ways to buy a recoat early. We cover the timing question more in how long sports court construction takes.
Step 9: Surfacing
Acrylic surfacing normally goes on in stages: cleaning, patching any low spots, a filler or resurfacer coat to even the texture, then colour coats. Temperature and humidity limits apply to the products, which is another reason Ontario’s building season is not as long as people hope. Squeegees and rollers are the usual tools. Our post on acrylic sports court coating describes what the layers do, and our colour options guide helps with colour choices. Modular tiles skip the coating stage entirely.
Step 10: Line Marking
Lines are measured and taped, then painted with a line paint that suits the surface. FIBA specifies lines 5 centimetres wide in high contrast, which is about 2 inches. For a residential court you decide how much of the official layout to include. A half court normally needs the key, free-throw line and three-point arc. If you share the pad with another sport, plan contrasting line colours so players can tell the layouts apart.
Step 11: Hoops, Backboards and Fencing
Rim height is 10 feet above the floor in the NBA rules, and the NBA backboard is 6 feet wide by 3.5 feet tall, as set out in NBA Rule No. 1. Residential systems often use smaller backboards and some offer adjustable height for younger players. Choose a system rated for the way you play. A pole that flexes under use is a nuisance, and a pole that is not properly anchored is a hazard.
Fencing keeps balls on the property and gives you some control over where they bounce. A backstop behind the baseline is the first thing most owners want, followed by side fencing and a gate. Height, post spacing, mesh and coating options are covered in our post on court fencing materials, height and maintenance, which is written about tennis but applies to any fenced court. Keep fence posts clear of the pad edge enough that a driving player has room, and leave a gate wide enough for a mower or small tractor.
Step 12: Lighting
Lights extend play into the evening and through the shoulder seasons. The decision to add lights should be made early, because poles and conduit are cheaper to place before paving. Spill light, glare and municipal limits on hours and brightness are common neighbour issues, so shielded LED fixtures and a sensible curfew help. More detail is in our sport court lighting guide.
Step 13: Landscaping and Finishing
When construction ends, the yard needs repair. Disturbed soil should be graded to drain away from the court, seeded or sodded and protected from erosion. Planting near the court is best kept to species that do not drop sticky fruit, heavy seeds or needles onto the surface. Good landscaping also softens the look of a fence line. CrowAll offers landscaping design, and our posts on where to start with sports court landscaping and what it costs help you plan the finishing work.
Basketball-Specific Details That Are Easy to Overlook
Rebound Zones and Run-Off Space
A basketball court needs more clear space around the lines than people expect. Players drive baseline, chase loose balls and fall. The FIBA rules call for a floor larger than the playing court for exactly that reason. In a backyard, the practical version is to keep the fence, any light poles and any rigid obstacle a good distance from the lines, and to pad hoop poles where players are likely to run into them. Overhead branches and wires should be well above the arc of a long shot.
Noise and Neighbours
A basketball on a hard surface is a distinct, repetitive sound. Position the court as far from neighbouring bedrooms as the lot allows, use a fence line with some mass, and think about the hours you will play. Soft landscaping helps a little. Hard fence panels help more. Modular tiles and cushioned systems feel different underfoot, but no surface makes a bouncing ball silent.
Mixing Basketball With Other Sports
Many owners ask whether the same pad can host pickleball, tennis or street hockey. It can, with planning. The pad needs to be large enough for the biggest layout, the slopes need to suit every sport, and the line plan needs contrasting colours. See our multi-sport court guide and our post on converting a tennis court to pickleball courts for how the layouts overlap.
Ontario Climate: Building for Freeze-Thaw
Ontario’s weather is hard on any hard surface. Water gets into small cracks, freezes, expands and widens them. Repeated cycles loosen the pad edges, lift joints and open the base. Summer sun then breaks down the coating, and de-icing salt tracked in from a driveway can attack both concrete and coating. The goal is to keep water out of the pad and away from the base, and to give the surface a way to move a little without failing. Our post on weather-resistant sports court considerations covers this in more detail.
What That Means for Design
Frost-aware design shows up in four places: a base deep enough and free-draining enough to keep water out of the frost zone, a grade that moves water off the court quickly, edges that are detailed so water cannot get under them, and a coating that is maintained before the first crack opens. Cracks that are filled early cost little. Cracks that are left for a few winters become a repair project. See our guide to sport court crack repair for how professionals treat them.
Winter Use and Snow
Many Ontario families shoot hoops through the winter, and a court that is shovelled, not salted, stays in better shape. Use a plastic shovel or one with a rubber edge so the coating is not scored, and avoid metal blades. Skip rock salt and use a product that the coating manufacturer approves. Sand and grit scratch acrylic. A tarp on a half-court pad is rarely worth the effort, so just keep the surface clear and let it dry.
| Phase | What Happens | What to Confirm |
|---|---|---|
| Planning | Site visit, layout, size, surface and fence decisions, approvals | Written scope, who pulls permits, locate request submitted |
| Excavation | Clearing, stripping and removal of soil to design depth | Where spoil goes, access path, soft areas found |
| Subgrade and base | Compaction, geotextile, granular lifts, proof rolling | Base depth, material, compaction method |
| Grading and drainage | Laser-controlled slope, swales, drains, outlets | Slope direction, discharge point, laser control used |
| Footings and conduit | Hoop, fence and light pole footings, electrical conduit | Footing details, frost depth, hoop model confirmed |
| Pad | Asphalt or concrete placed and finished, or tile base prepared | Thickness, reinforcement, joint plan, weather window |
| Cure | Time before coating | Cure time per product instructions |
| Surfacing and lines | Acrylic coats or tile install, line marking | Colours, line layout, coating system |
| Finish | Hoops, fencing, lighting, landscaping and clean-up | Punch list, restoration of yard, care instructions |
What Drives Backyard Basketball Court Construction Cost
Prices vary too much by site to quote responsibly in a blog post, and any number you see online may not reflect an Ontario site with winter-ready construction. What can be said is which factors move the cost. Our guides on the cost of a home basketball court and the wider sports court cost breakdown go through them, and the table below summarizes the main drivers.
| Cost Driver | Why It Matters | How to Keep It in Check |
|---|---|---|
| Court size | Every extra square foot adds excavation, stone, paving and coating | Consider a half court or a compact layout |
| Site conditions | Soft soil, slopes, trees and poor drainage add excavation and base work | Walk the site with the contractor before you commit |
| Access | Tight access means smaller machines and more hand labour | Clear a path and confirm fence or gate widths in advance |
| Base depth and drainage | Deeper bases and drains add material and time | Do not trim the base to save money; it is the hardest part to fix later |
| Pad type | Asphalt, concrete and tile have different material and labour profiles | Compare life-cycle cost, not only the install price |
| Surface system | Coating layers, cushion and colour options change the scope | Choose a system for how the court will be used |
| Hoops and equipment | Permanent systems, adjustable heights and backstops add cost | Pick a system rated for the way you play |
| Fencing | Height, length and mesh type change the price quickly | Fence the sides that need it first |
| Lighting | Poles, fixtures and trenching add up | Run conduit during construction even if you light later |
| Landscaping and restoration | Regrading, sod and planting restore the yard | Plan the yard repair into the budget |
How Long Does Construction Take?
A residential half court normally takes some weeks from first excavation to final lines, with the weather deciding much of the schedule. Asphalt and coatings need dry conditions and workable temperatures. A concrete pad needs time to cure. Surfacing cannot start until the pad is ready. The full job can run longer on large sites, with fencing and lighting, or with rain delays. Because those variables are site-specific, ask your contractor for a written schedule rather than relying on a general figure. Our guide to how long sports court construction takes explains the stages.
The Best Season to Build
In Ontario the strongest building window runs from late spring through early autumn, because asphalt, concrete and acrylic products all prefer mild, dry weather. Summer is busy. Early fall can be ideal if contractors still have capacity and the weather holds. We compare the seasons in summer versus fall for building a court and in our post on the best time of year to start building a sports court. Booking in winter for a spring start is common and often gives you the earliest slot.
| Season | Conditions | Planning Notes |
|---|---|---|
| Winter | Frozen ground, snow, cold temperatures | Good time to design, choose surfaces, secure permits and book a build slot |
| Spring | Thaw, wet ground, variable temperatures | Ground may be too wet to dig; spring starts depend on conditions |
| Summer | Warm and usually dry | Prime season for paving and coating; schedules fill early |
| Early fall | Mild days, cool nights | Often workable if the weather holds; watch overnight lows for coatings |
| Late fall | Cold, wet and shorter days | Pushing a job into late fall risks unfinished work over winter |
Caring for a New Court
A new court needs less care than a neglected one but it is not maintenance-free. A routine of sweeping, rinsing, checking drains, watching for cracks and following the coating maker’s care instructions will carry you a long way. Our posts on home basketball court maintenance and why proactive maintenance saves money lay out the routine. When the coating wears or the lines fade, a recoat or resurfacing job restores the surface before damage spreads.
| Task | Why It Matters | When |
|---|---|---|
| Sweep or blow off debris | Leaves and grit hold moisture and scratch coatings | Regularly during the playing season |
| Check drains and outlets | Blocked drains cause ponding and freeze damage | After storms and before winter |
| Inspect cracks and joints | Water enters small cracks and widens them in winter | Spring and fall |
| Clean the surface | Removes stains, algae and fine dirt | As needed, using methods the coating maker approves |
| Check hoop, net and backboard | Loose hardware is a safety issue | Start of each season |
| Recoat or repaint lines | Restores wear layer and visibility | When wear or fading appears |
| Trim trees and vegetation | Reduces shade, leaf litter and root pressure | Annually |
Common Construction Mistakes to Avoid
Most problems on backyard courts come from a short list of decisions. The first is a thin or poorly compacted base, which leads to dips and cracking. The second is poor drainage, which is the most common cause of premature failure. The third is coating before the pad has cured. The fourth is skipping hoop footing design, so the pole leans or the backboard shakes. The fifth is leaving conduit, fencing or lighting for later and cutting the finished pad to add them. Our post on top mistakes that damage sports courts goes deeper on these. If you already see surface problems on an older court, our crack repair guide shows what is repairable and what points to a larger rebuild.
| Warning Sign | Likely Cause | What to Do |
|---|---|---|
| Ponding after rain | Low spots, poor slope or blocked outlet | Have a contractor check grade and drainage |
| Hairline cracks | Surface stress, temperature swings or early base movement | Monitor and seal before winter |
| Wide or spreading cracks | Base movement, water under the pad or frost heave | Get a professional assessment |
| Bubbles or peeling coating | Moisture in the pad or coating applied too early | Repair and recoat after the cause is fixed |
| Leaning or loose hoop pole | Inadequate footing or anchor problem | Stop play and have it inspected |
| Standing water at fence line | Fence posts blocking drainage or grade problems | Regrade or add an outlet |
How to Choose a Backyard Basketball Court Builder in Ontario
Ask who will actually do the grading, how they control slope, what the base design is and how they handle drainage. Ask to see finished local courts and talk to past clients. Ask who pulls permits, who calls for locates and what happens if rock or soft soil turns up. Compare scopes line by line instead of comparing totals, since a low price often leaves out base depth, drainage, fencing or restoration. Our post on common court mistakes and our why choose us page describe how we approach the work, and you can review finished projects in the project gallery.
Planning a Backyard Basketball Court With CrowAll
CrowAll builds basketball courts in Toronto and across Ontario. Its backyard basketball court page describes a process of consultation and design, preparation and construction covering excavation, base material and surface installation, and finishing touches including line painting, hoops and lighting. The company lists acrylic surface systems and modular polypropylene tiles among its surface options, and it serves Toronto, Mississauga, Vaughan, Markham, Oakville, Hamilton and other Ontario communities. Read more in our company profile.
If you are weighing a site, a layout or a budget, contact CrowAll to arrange a free consultation and quote. Bring a rough sketch of the yard, photos of the proposed area and an idea of how the court will be used. You can also see local details on our Toronto basketball court construction page, our Mississauga, Vaughan, Markham, Oakville and Hamilton pages, or browse the product catalogue.
FAQ
How much space do I need for a backyard basketball court?
A half court generally needs a pad of at least 30 by 50 feet, according to CrowAll’s backyard court page, plus room for fencing and run-off. A full-size court needs roughly 50 by 94 feet before margins.
What is the best surface for a backyard basketball court?
Coated asphalt, coated concrete and modular polypropylene tile are the most common outdoor choices. The best one depends on your budget, soil, how often you play and how much maintenance you want to take on.
How thick should the base be?
It depends on the soil, the pad type and the frost depth. Pickleball Manitoba’s cold-climate guidance lists a 15 inch minimum and 18 inch recommended granular base for courts, which is a useful reference, but your designer sets the final figure.
What slope should a basketball court have?
Published guidance varies, and many contractors design in the range of about one to two percent in one direction. The designer sets the exact figure for the site and the surface system.
Is asphalt or concrete better for a basketball court?
Asphalt is flexible and often more economical. Concrete is harder and long-lasting but needs a proper base, joints and cure. Both usually get an acrylic coating.
Do I need a permit to build a basketball court in Ontario?
It depends on your municipality, the size of the court, fencing, lighting and lot rules. Check with the local building and zoning office before signing a contract.
Do I have to call before I dig?
Yes. Ontario Dig Authority states that locates are required for any project that breaks ground and should be requested at least 5 business days before digging.
How long does it take to build a backyard basketball court?
It depends on size, soil, weather and extras such as fencing and lighting. Ask your contractor for a written schedule, since pad cure time and weather windows control much of it.
How high is a basketball hoop?
The rim is 10 feet above the floor under NBA rules. Adjustable residential systems let you lower it for younger players.
What is the best direction to face a basketball court?
Most owners run the long axis north to south, which keeps players from looking straight into the low morning and evening sun.
Can I build a basketball court over grass?
Modular tile systems can be placed over a prepared base, but placing tile directly on soft grass tends to give a poor result. A compacted, free-draining base is still needed.
Can I use the same court for pickleball or tennis?
Yes, with a plan. The pad has to be large enough, the slope must suit every sport and the lines must use contrasting colours.
Do I need fencing around a basketball court?
Fencing is strongly recommended to contain balls and protect neighbouring property. At minimum, a backstop behind each hoop is common.
Can I add lighting later?
Yes, but it is much easier and cheaper to install conduit and pole footings during construction than to cut into a finished pad.
How do I maintain a basketball court in winter?
Shovel with a plastic or rubber-edged blade, avoid metal tools and rock salt, and keep drains clear. Fill small cracks before freezing weather.
How often does a basketball court need recoating?
It varies with sun, use, product and maintenance. Recoat when the surface shows wear, fading or exposed texture rather than on a fixed calendar.
Does CrowAll build backyard basketball courts?
Yes. CrowAll builds basketball courts in Toronto and across Ontario, offering consultation, excavation, base and surface installation, line painting, hoops and lighting, and it offers free quotes.